|
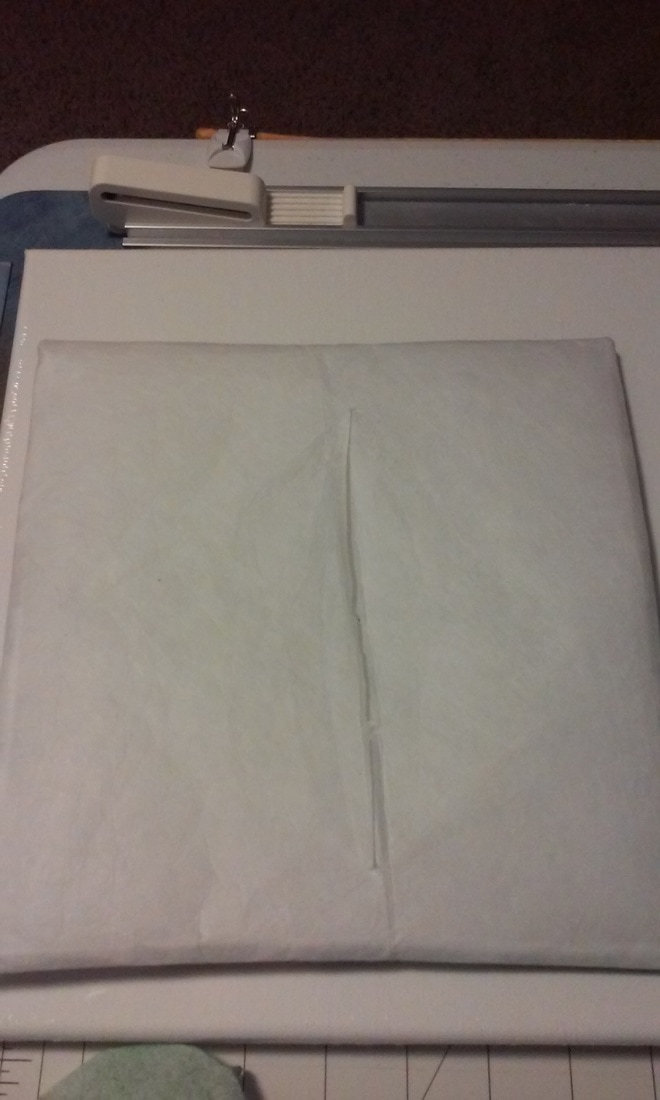
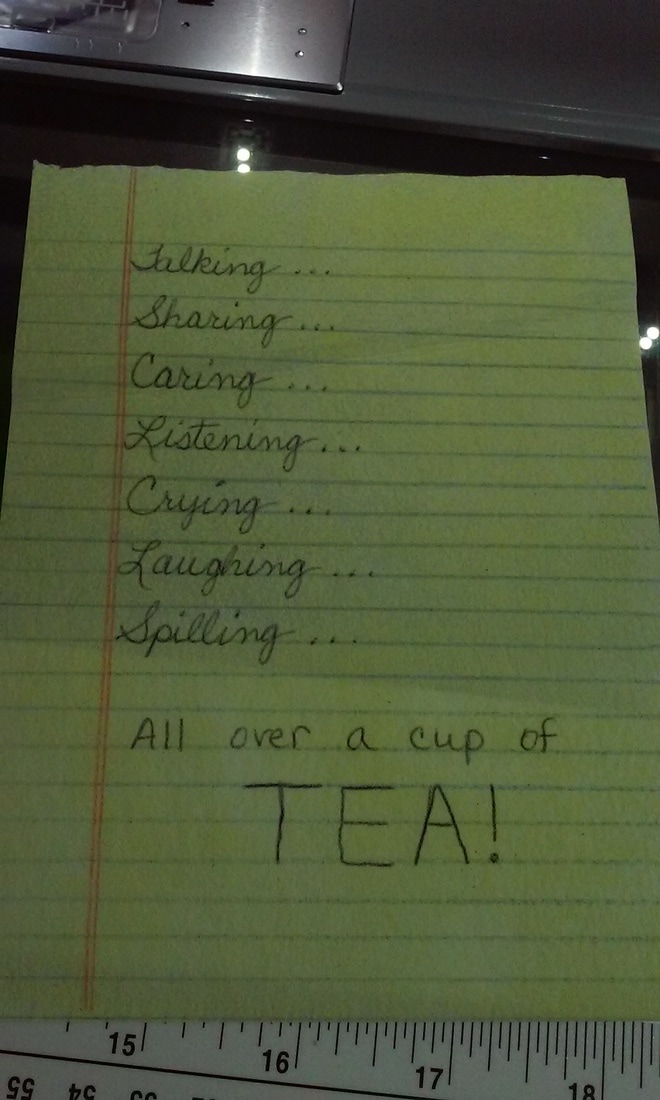
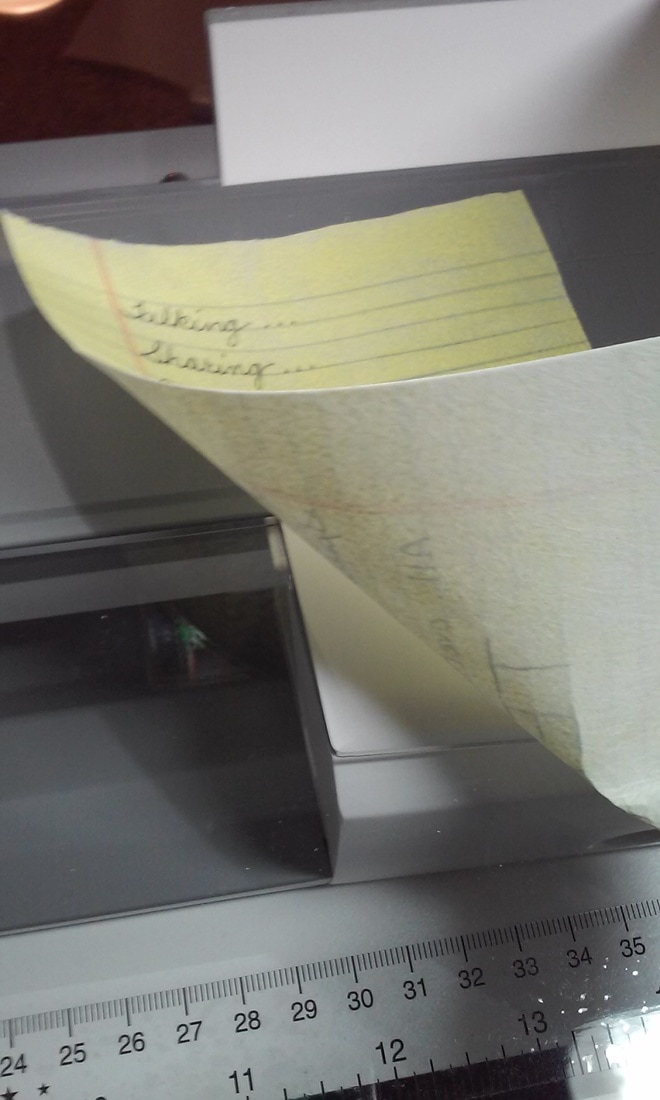
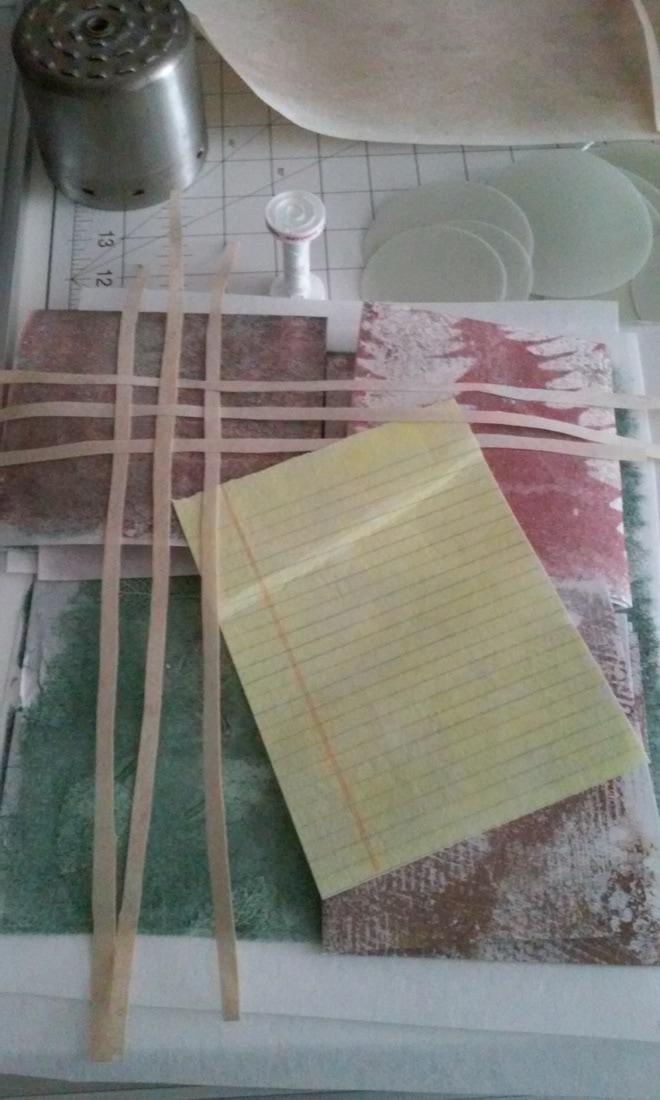
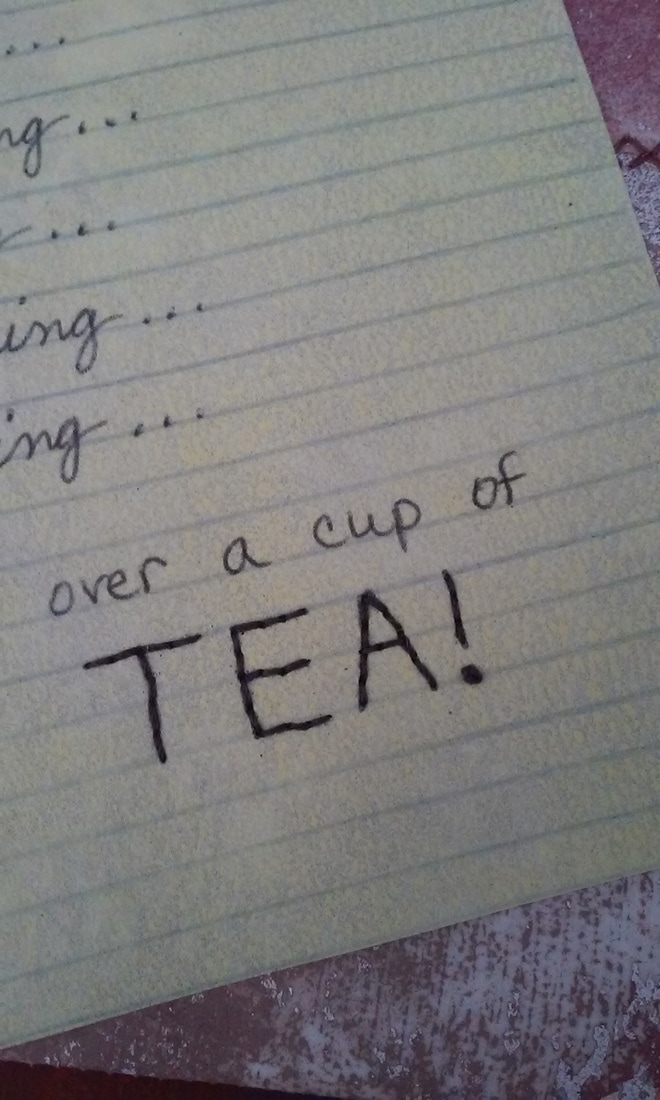
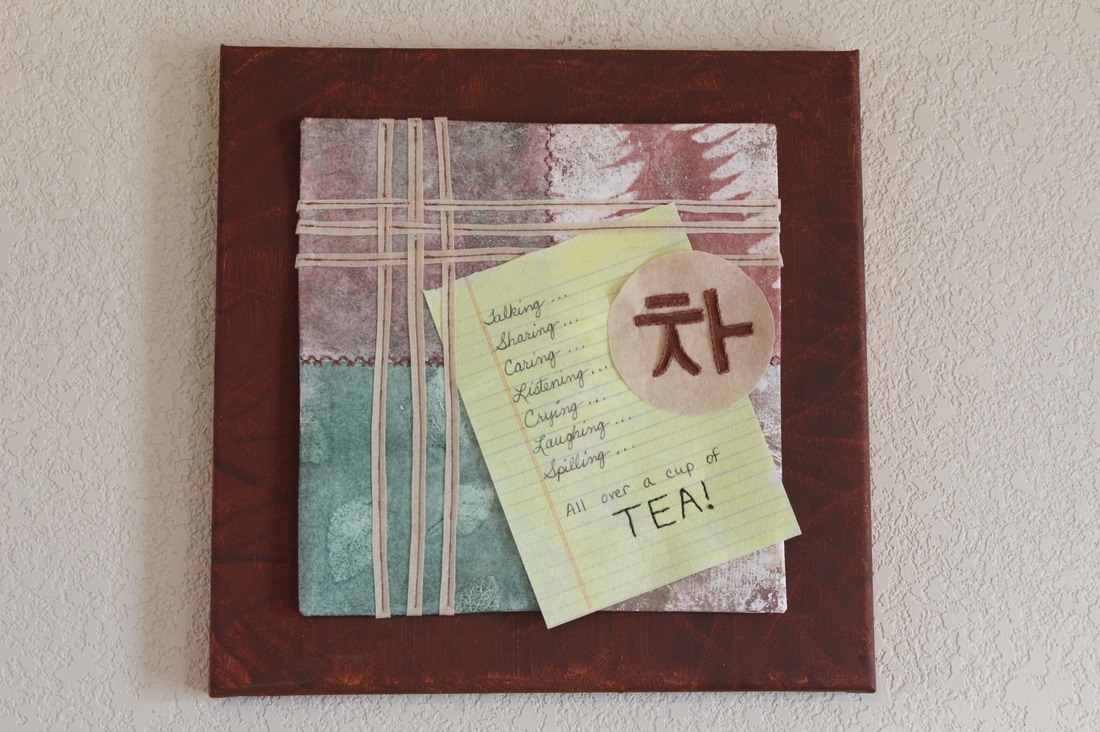
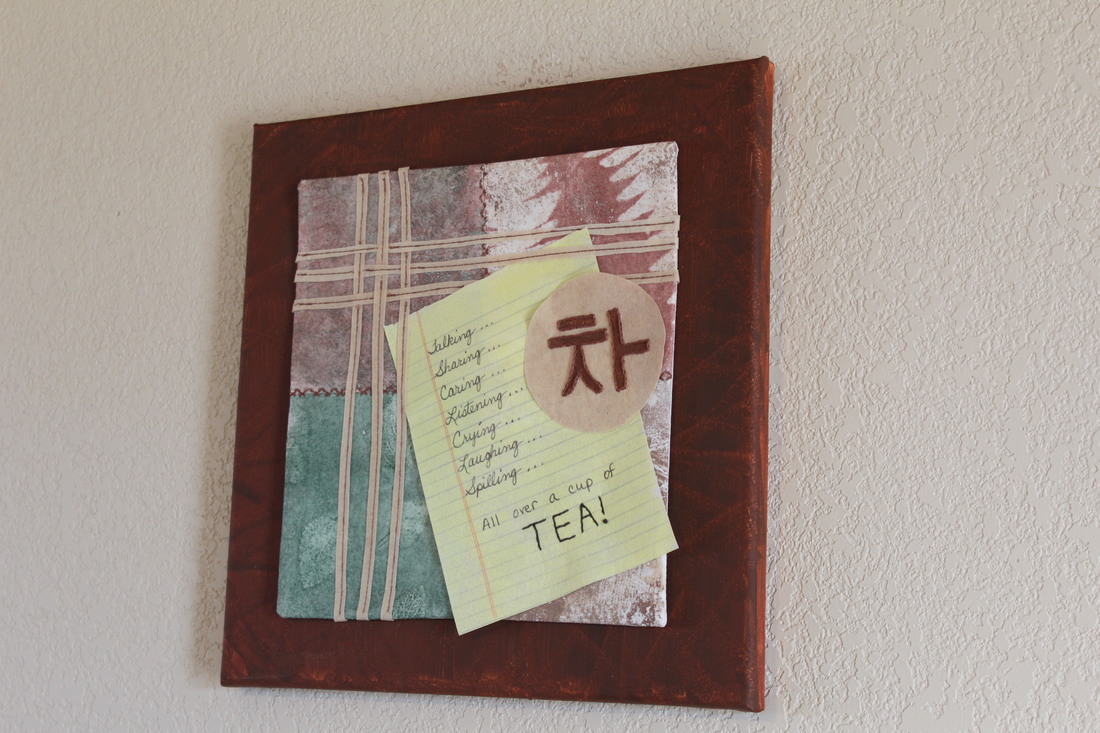
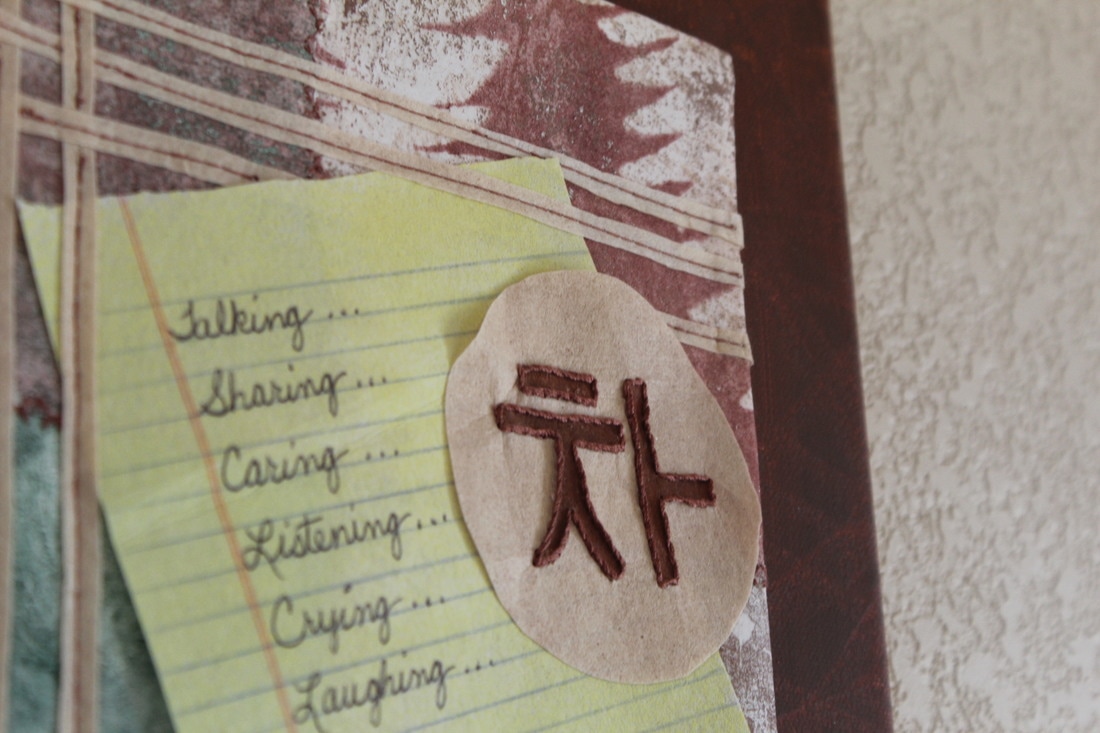
Welcome back! :) Are you ready to see how it all came together? In my previous post, I told you that I used another piece of Sulky Cut-Away Plus for the backing and sewed everything right sides together and then turned it. The picture on the left shows the slit I made in the backing to do that, leaving nice, clean edges for the front. In the middle and right pictures, you will see the "piece of paper" I monoprinted as the main design element of the piece. See how there are no lines on the back and that it is still white? All printed! Backing up a few steps, now you can see how I wanted to integrate the "paper" into the design. The picture on the right shows the weaving sewn down by machine, catching the "paper" to secure it as well. I decided to paint the mounting canvas a reddish-brown to compliment the other tones. So the assembly is nearly complete! The multiple layers of stabilizer and the canvas did make the stitching a little slow-going, but it was worth it. Are you ready to see the front? :) So what do you think? After getting it all together, it still needed something else. I found the Korean character for tea, made my own stamp and printed it on the tea-stained remnants of stabilizer. I used the stem stitch to enhance the outline and to secure it to the piece. You may remember that this was for a juried show. I shared the call for entry with my son who is going into graphic design and this is what he came up with: Same call for entry, but isn't amazing how different the two pieces are?
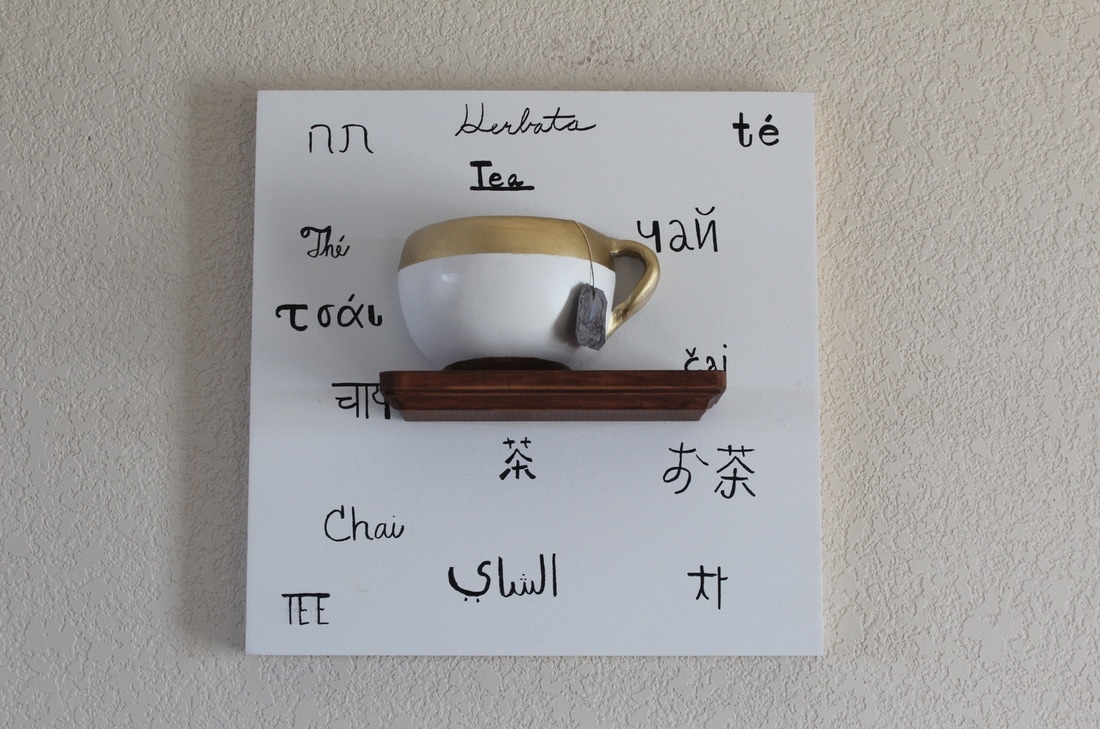
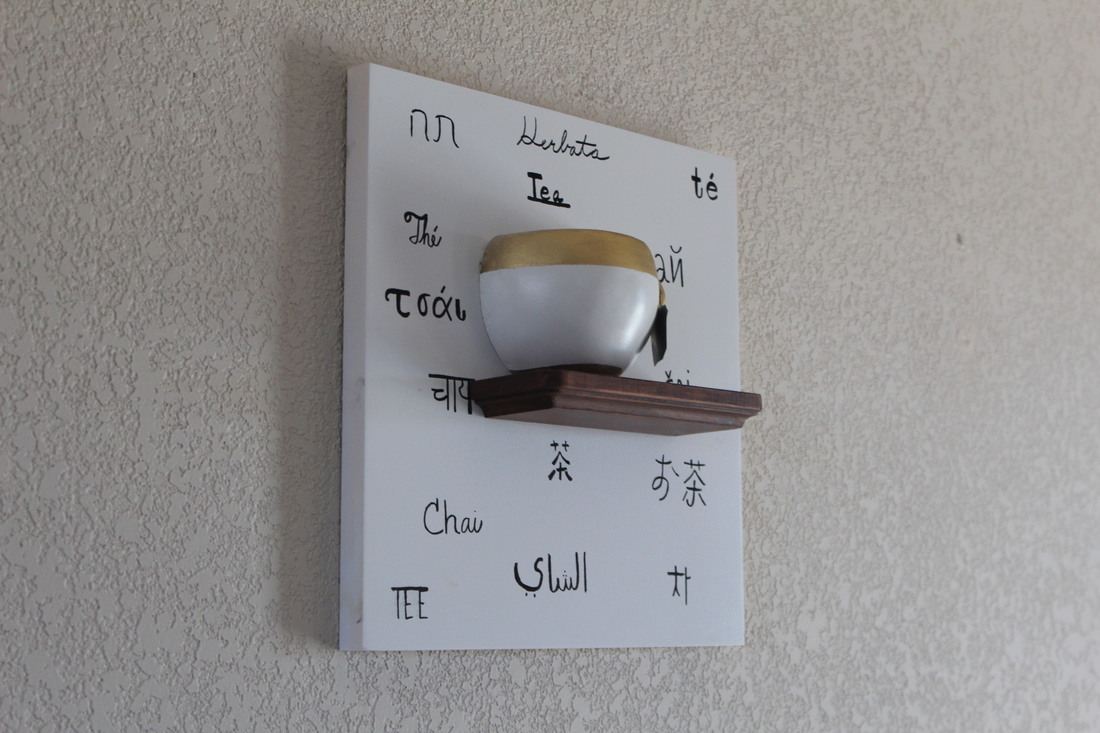
He chose to focus on the multi-ethnicity of tea. I love the cup he sculpted out of air-dry clay! You can see more of his work here. I'll let you know if either or both of us are accepted into the exhibit!
0 Comments
|