|
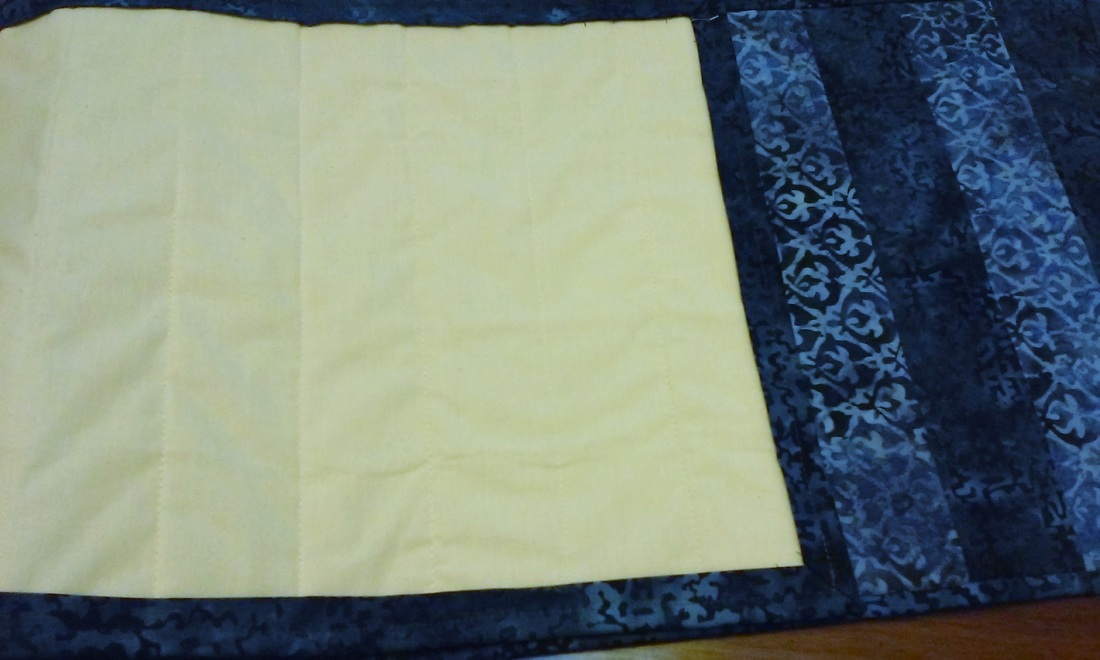
I was! So I whipped out this table runner as a wedding present! 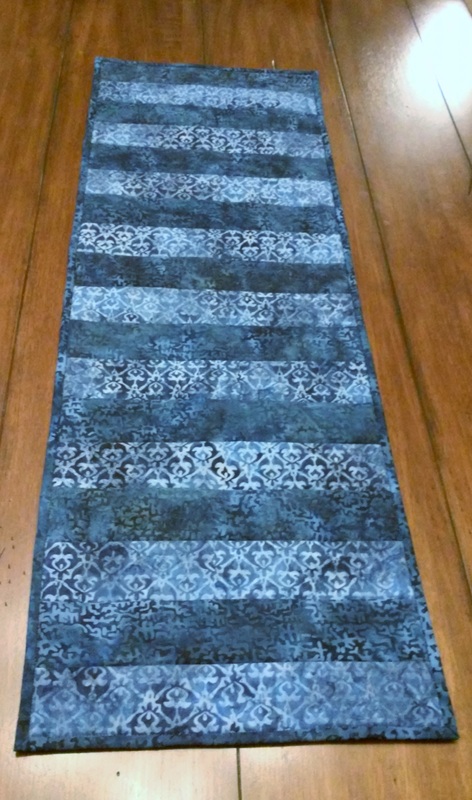
quick+easy=great combination
Even though it isn't fancy, and didn't take a ton of time (I made it in an evening), it will still be a nice, handmade gift. The young couple loves navy blue and has a modern flair to their home decor, so the simple strips are perfect for them. I happened to have the batiks on hand, but I think it would be great with lots of fabrics.
Need something a little more elegant? Try linen strips in white and off white. Have a friend who loves Fiesta Ware as much as I do? (I doubt it, but you never know...) Use your rainbow of scraps to go with all their colors. To make your own, cut 2 1/2" wide strips (or use a jelly roll if you have one). Then subcut into 18, 13" strips. Sew together, using a 1/4" seam in any order you please. It should finish out at just about 36" long. Press all the seams one direction. Layer on cotton batting (it won't conduct the heat like polyester) and backing fabric (I used a good quality muslin). Quilt as desired. You can see that I quilted in the ditch along the strips. For my purposes, fmq would have made it too busy for this couple's tastes. I used traditional french fold binding and mitered the corners. It required three strips wof (width of fabric) sewn together to get all the way around. There was about half of a strip left over. The finished size is about 13 1/2 x 36" inches including the binding. If you need a longer runner, just add more strips. :-) If you make one or some, I'd love to see your creations, so please send them to me! :)
0 Comments
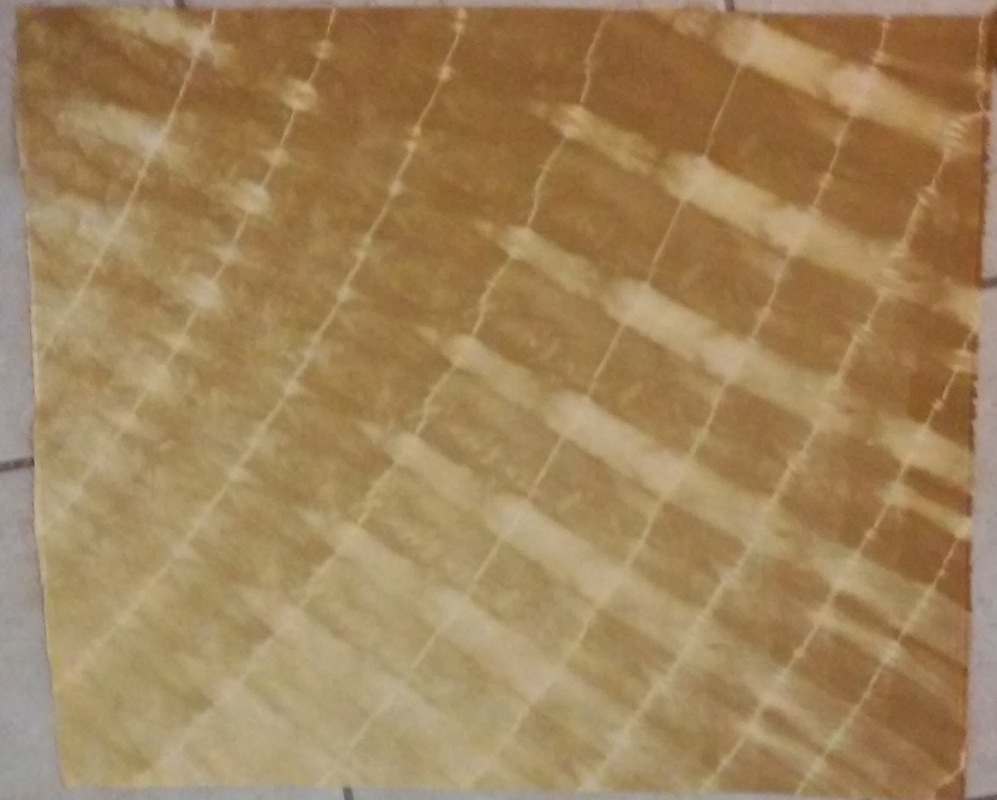
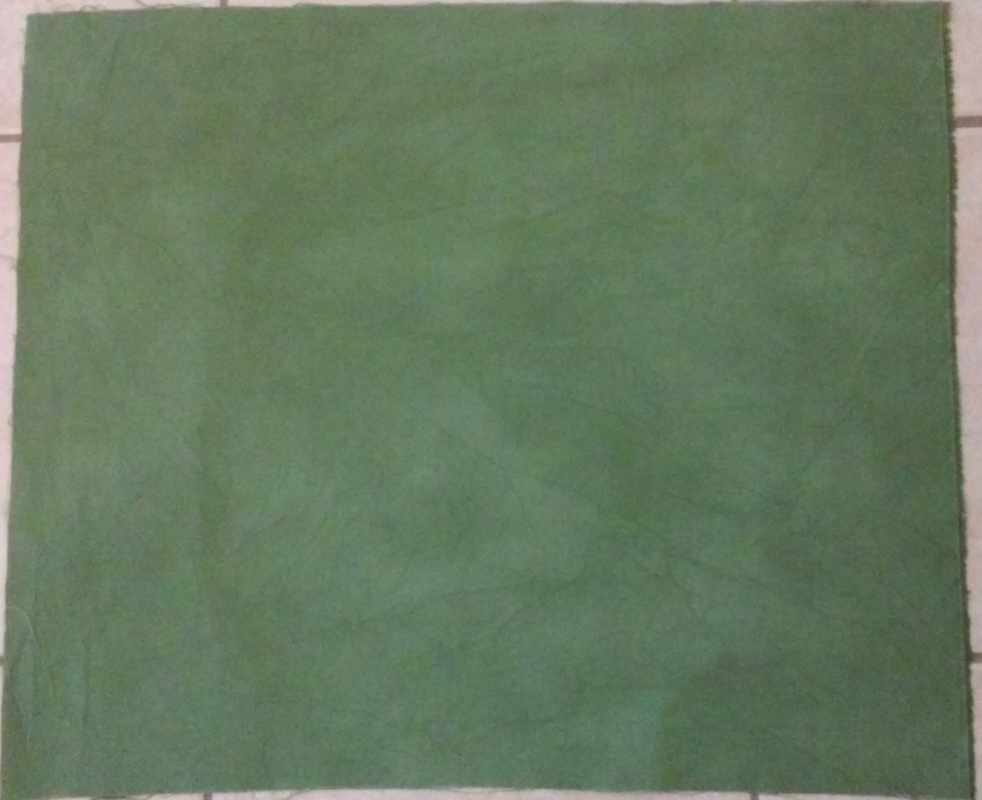
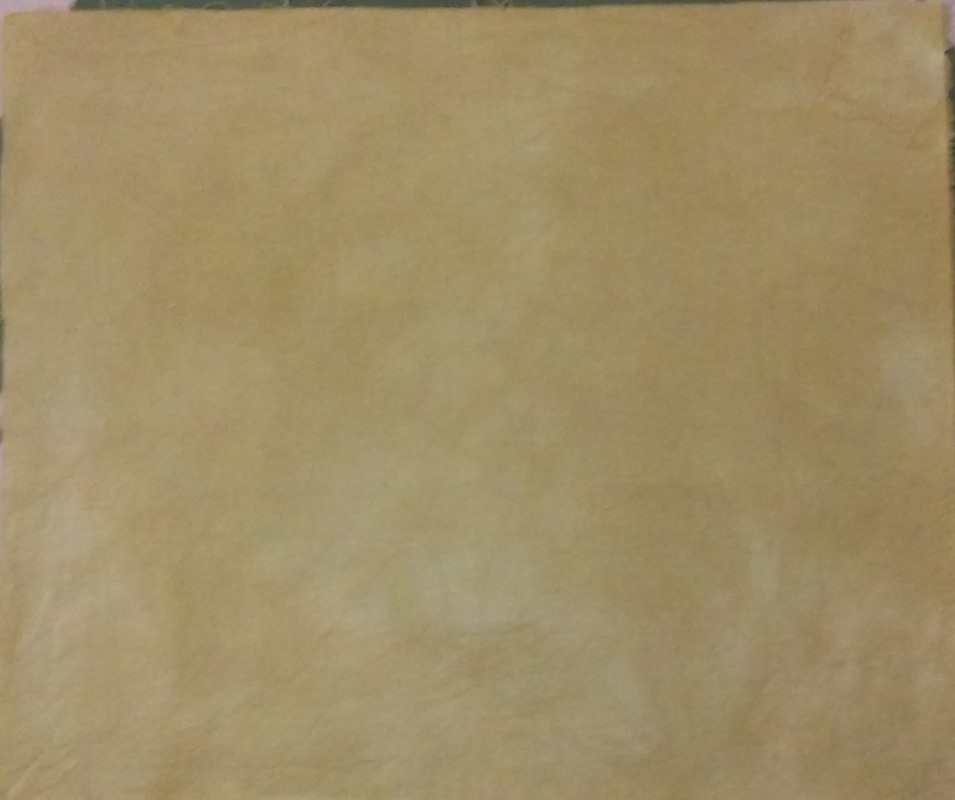
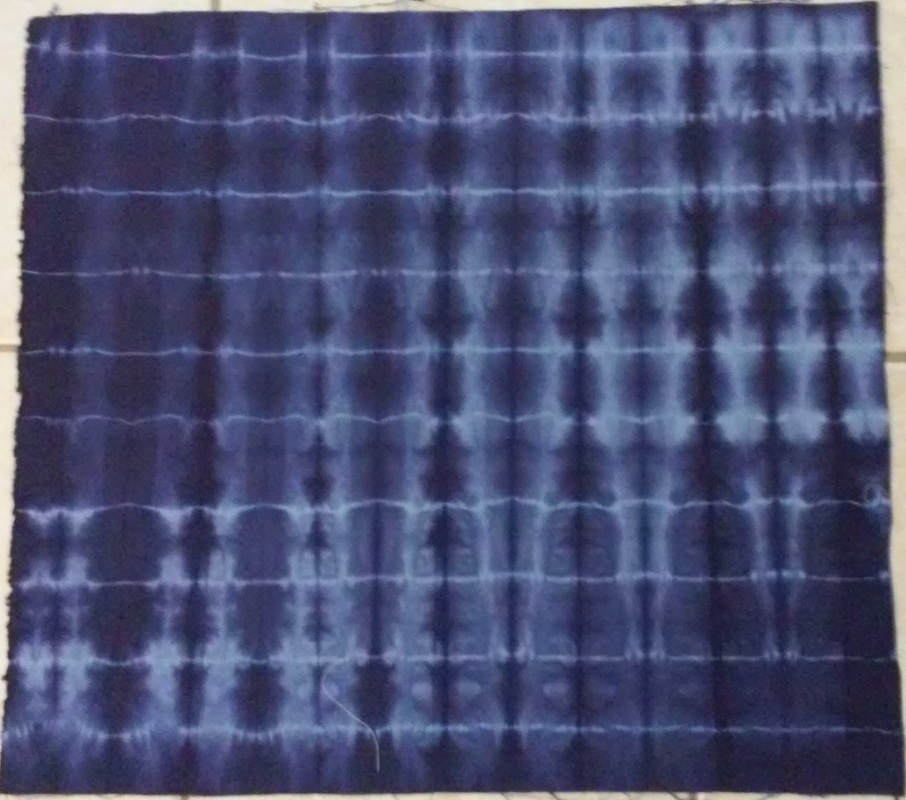
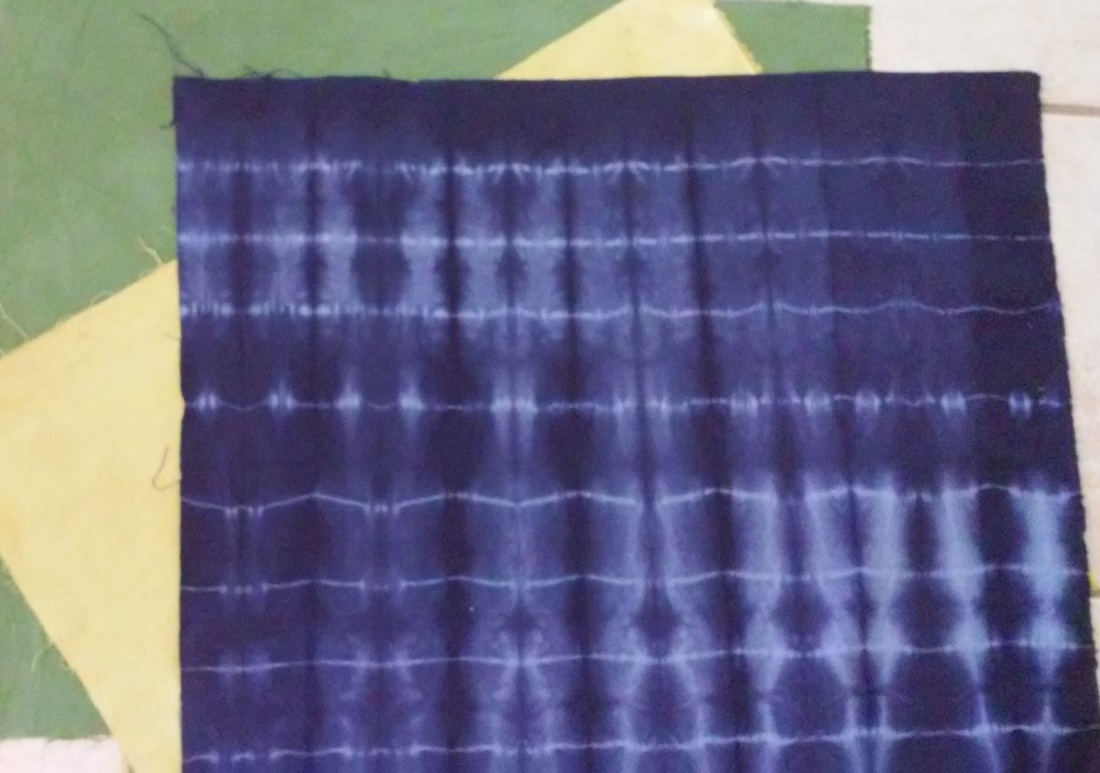
Fabric dyer's tip: Always have some supplies on hand, so when the mood strikes, you can have some fun! This time, I cut some fat quarters of PFD fabric, gathered some dye recipes to make some rich, fall colors and tried some "new-to-me" fabric manipulations to achieve some different effects. Here's what I came up with: To get the rings, I used some left over rubber bands (very tiny!) from when my son had braces and tied them around bb's. For the fan, I rolled the fat quarter at an angle and then tied off sections with the same itty bitty rubber bands. To get some nice veining, (which may not be very visible in the picture...sorry about that), I soaked the PFD fabric and scrunched it up. I let it sit for a while, as I tended to the others and then put it in a low water immersion dye bath. I repeated the veining process with the haystack dye, and in a way,
it almost looks like leather or suede. For the cobalt grid, I fan-folded the fat quarters and tied them off in sections with the rubber bands and dipped them in the dye. For the record, I was actually a little disappointed with the color on this. I was aiming for a rich purple, but it just goes to show that the dyeing process can be unpredictable. I got it over it though. :) The color is still cool and depending on what it is next too, the purple does pop out. So, I know what you're thinking. "What is she going to make with those?" Answer: I don't know! :) I did give some to a crafting friend as a part of her birthday present, but as for the rest, I'm not sure yet But isn't that half the fun? :) |