|
While I was preparing for my show at Mission Coffee, my aunt said I should make something using sage green. Well, if you have seen much of my work, you know that I normally don't work in pastels. I told her I would give it a shot and Prickly Paddle Sunset is the result:  Prickly Paddle Sunset In addition to traditional batting, I also used fusible fleece to give the cactus paddles more definition. The stitching along with the extra thickness, achieves the dimpled look. The cloud pieces as well as the "sand" are all free cut and raw-edge appliqued to the background. Here are some more detailed images before the piece was mounted on the canvas: I painted the spines, using the stitched "dimples" as the vertices for each clump. The sky and ground are densely free motion quilted, which allows the paddles to stand out even more. This piece really surprised me, when I was finished! Why? I really like it! Since I normally don't work with pastels or muted colors, I wasn't sure how it was all going to turn out in the end, but I was pleasantly surprised! My aunt's suggestion was the motivator for the piece and I enjoyed the challenge. So I think the lesson here, is to be open to trying things you normally wouldn't... you just might get surprised too!
0 Comments
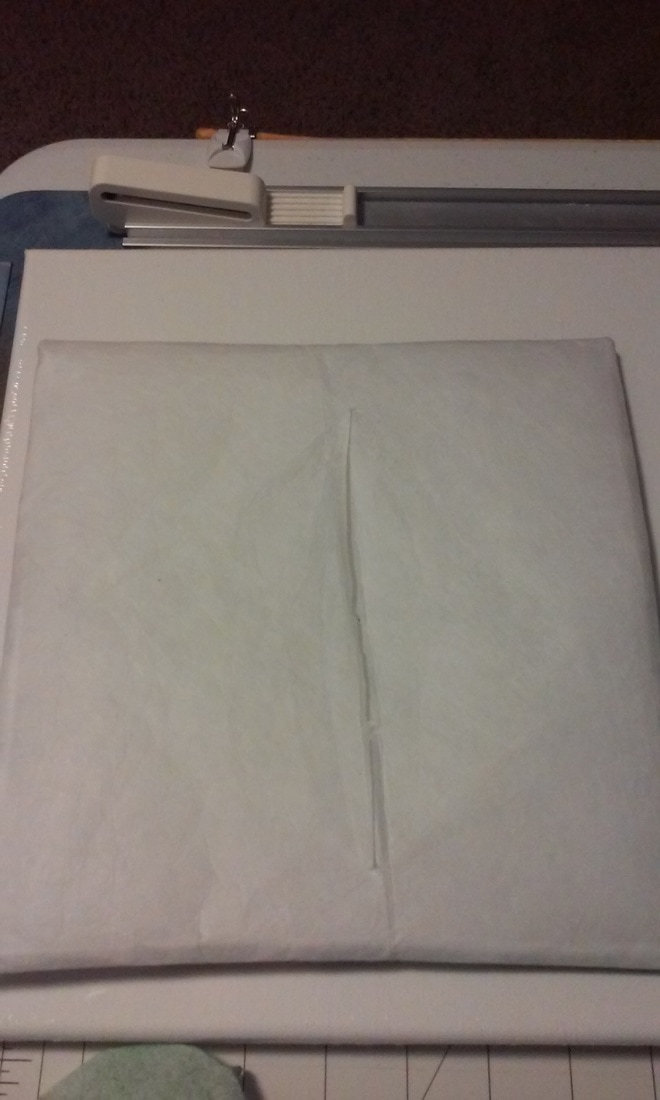
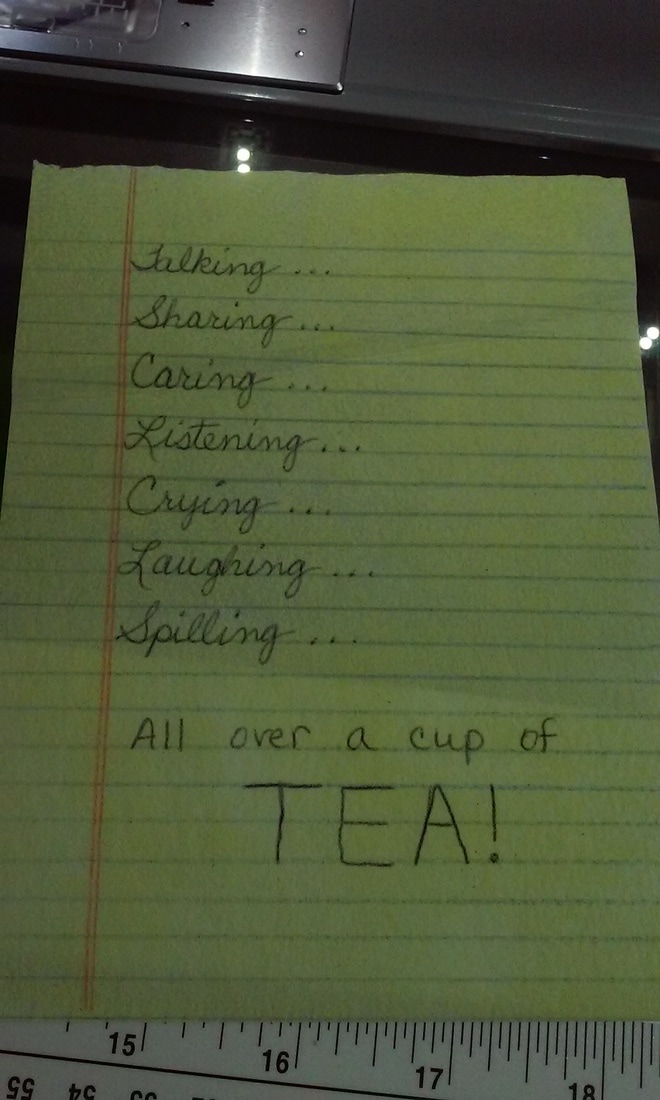
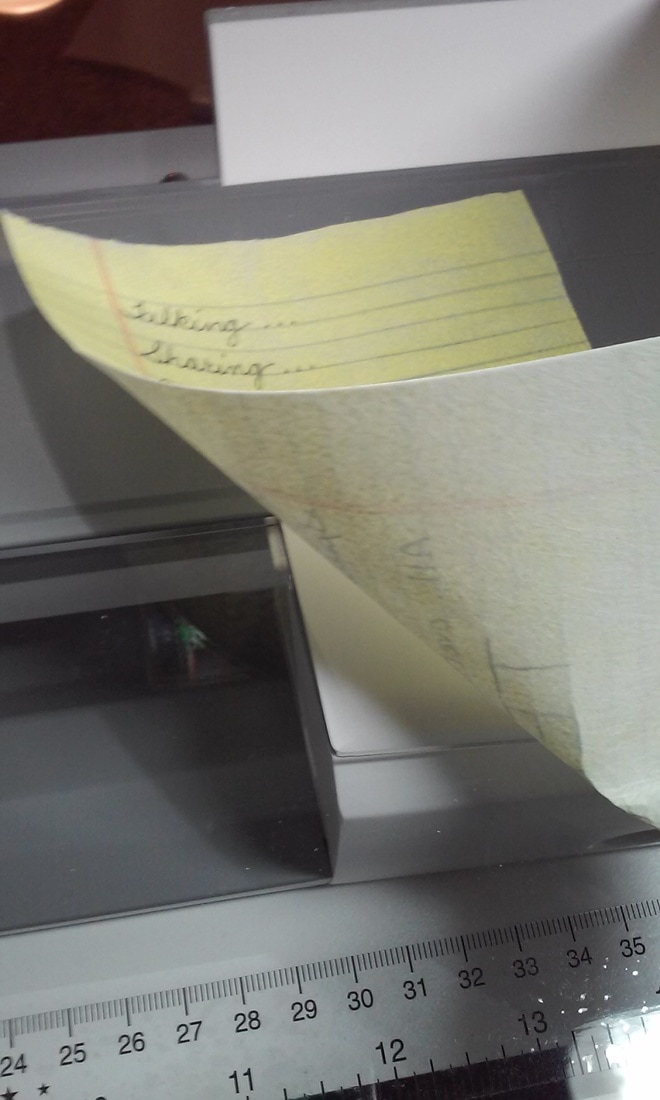
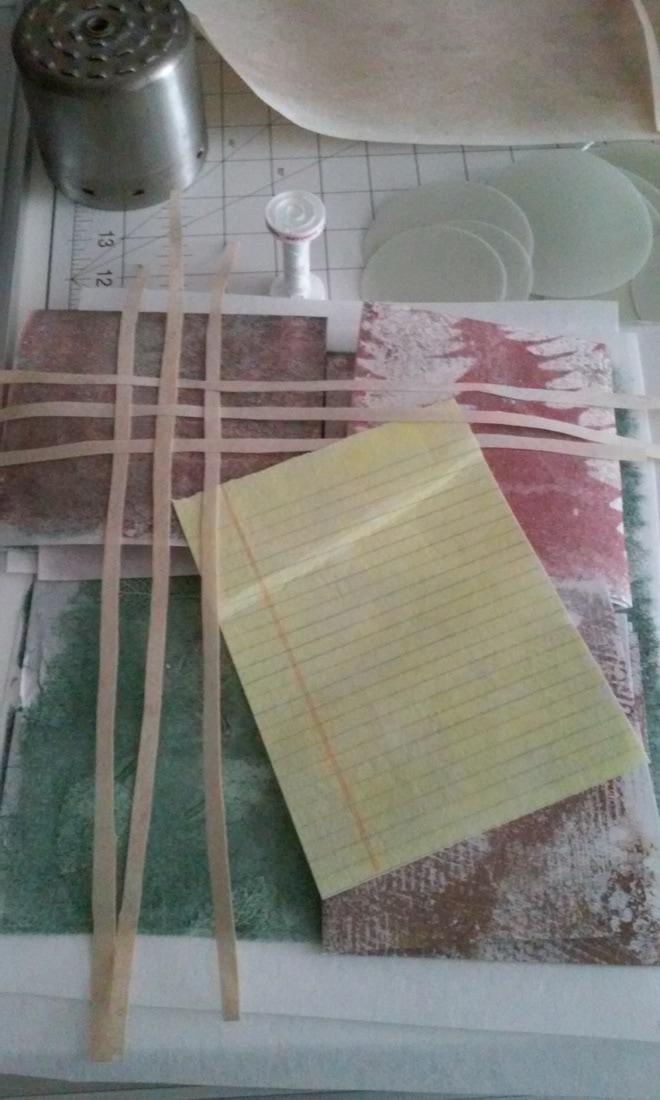
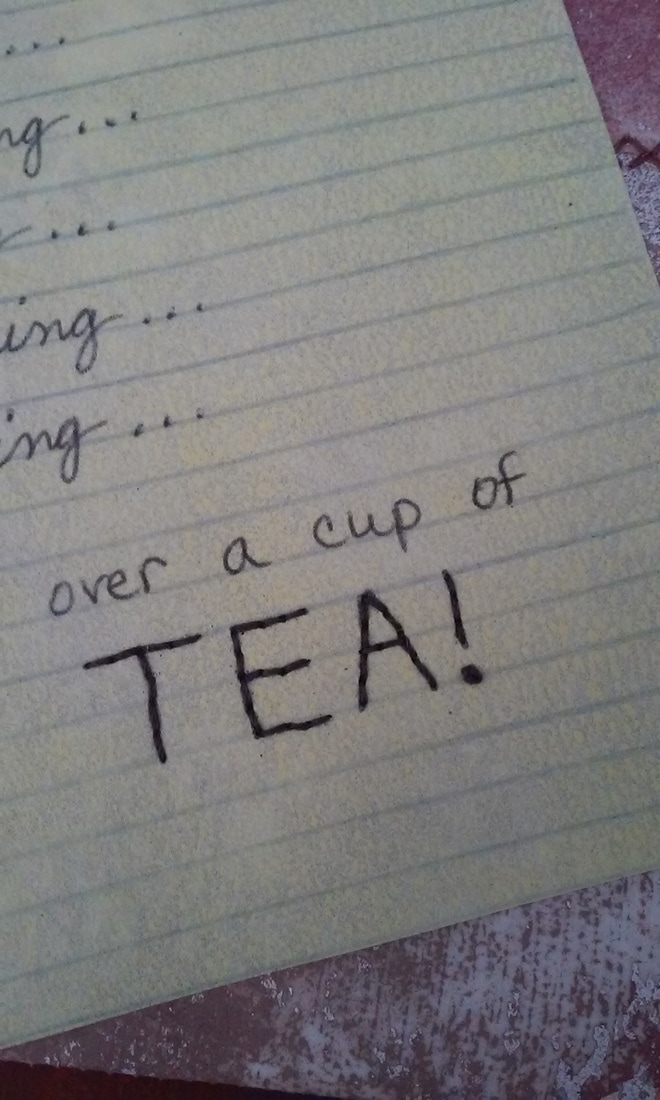
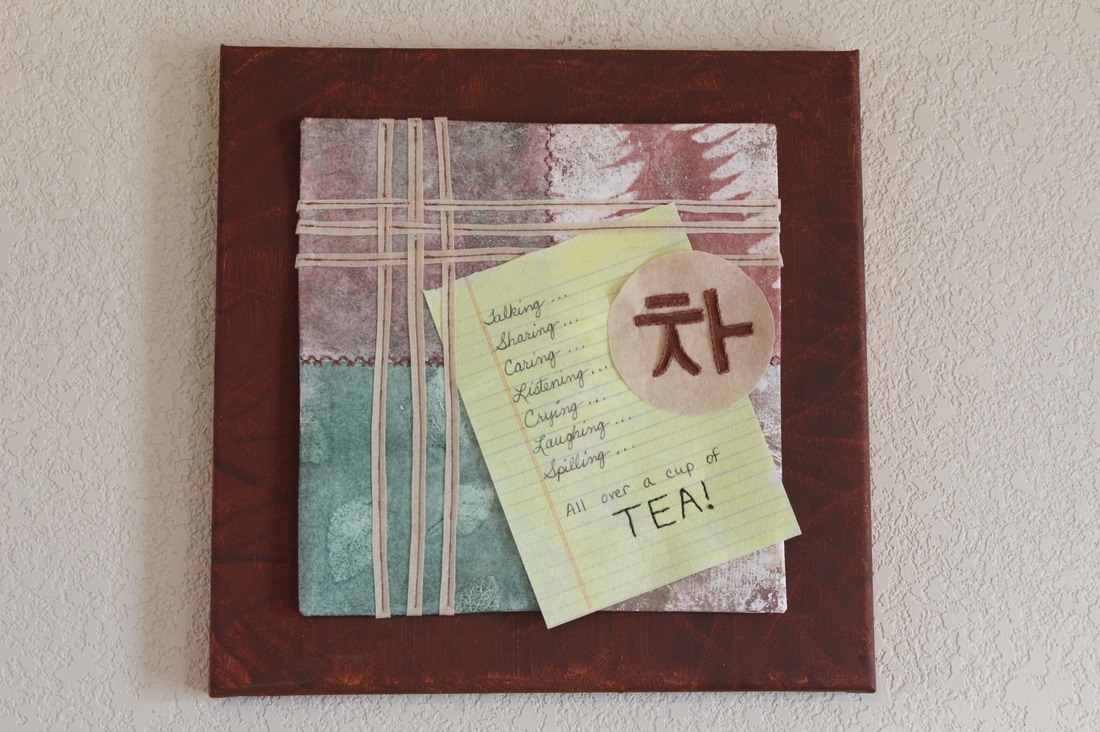
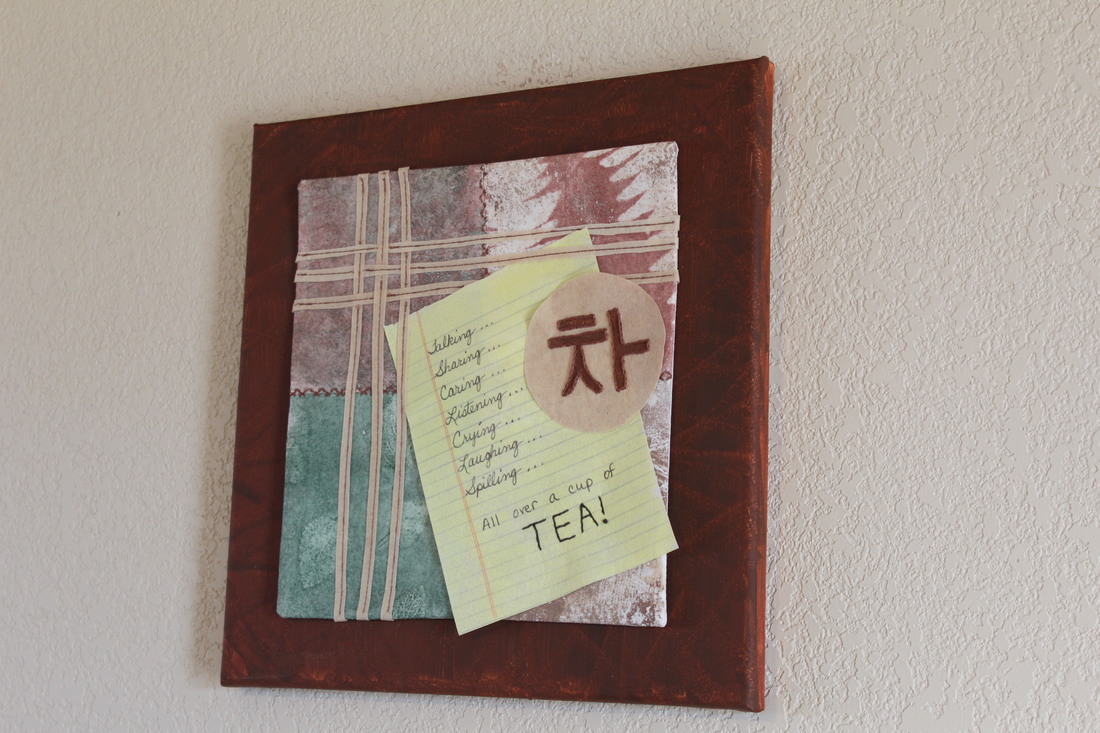
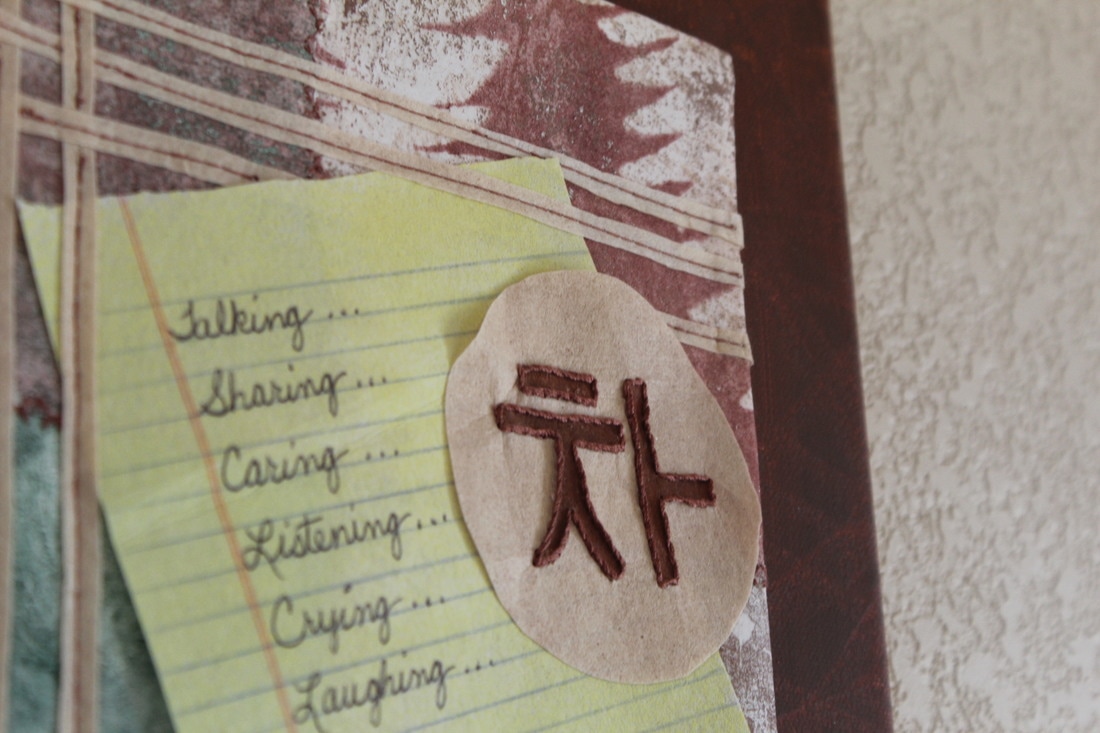
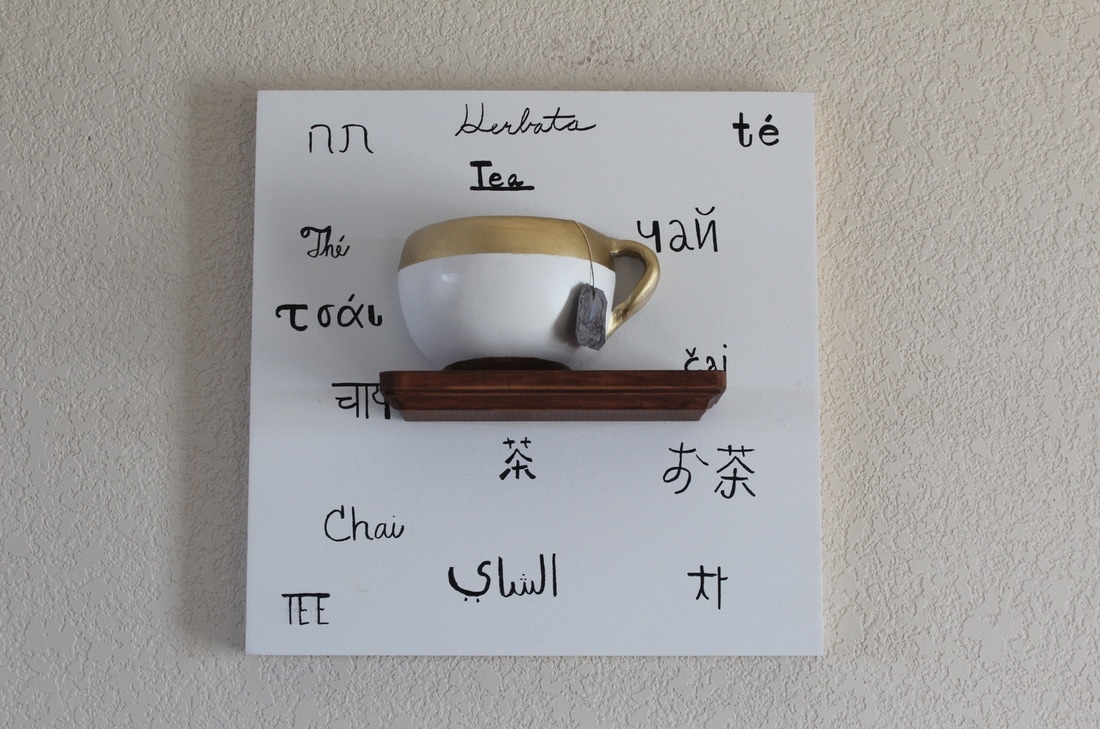
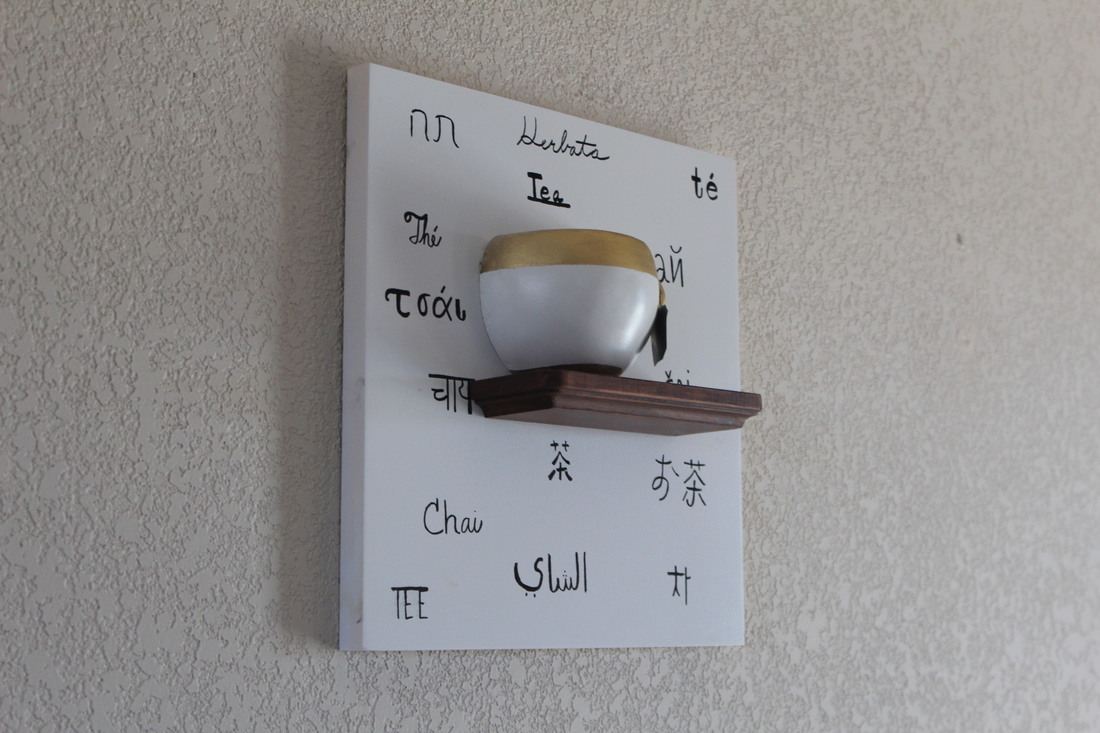
Welcome back! :) Are you ready to see how it all came together? In my previous post, I told you that I used another piece of Sulky Cut-Away Plus for the backing and sewed everything right sides together and then turned it. The picture on the left shows the slit I made in the backing to do that, leaving nice, clean edges for the front. In the middle and right pictures, you will see the "piece of paper" I monoprinted as the main design element of the piece. See how there are no lines on the back and that it is still white? All printed! Backing up a few steps, now you can see how I wanted to integrate the "paper" into the design. The picture on the right shows the weaving sewn down by machine, catching the "paper" to secure it as well. I decided to paint the mounting canvas a reddish-brown to compliment the other tones. So the assembly is nearly complete! The multiple layers of stabilizer and the canvas did make the stitching a little slow-going, but it was worth it. Are you ready to see the front? :) So what do you think? After getting it all together, it still needed something else. I found the Korean character for tea, made my own stamp and printed it on the tea-stained remnants of stabilizer. I used the stem stitch to enhance the outline and to secure it to the piece. You may remember that this was for a juried show. I shared the call for entry with my son who is going into graphic design and this is what he came up with: Same call for entry, but isn't amazing how different the two pieces are?
He chose to focus on the multi-ethnicity of tea. I love the cup he sculpted out of air-dry clay! You can see more of his work here. I'll let you know if either or both of us are accepted into the exhibit! |