|
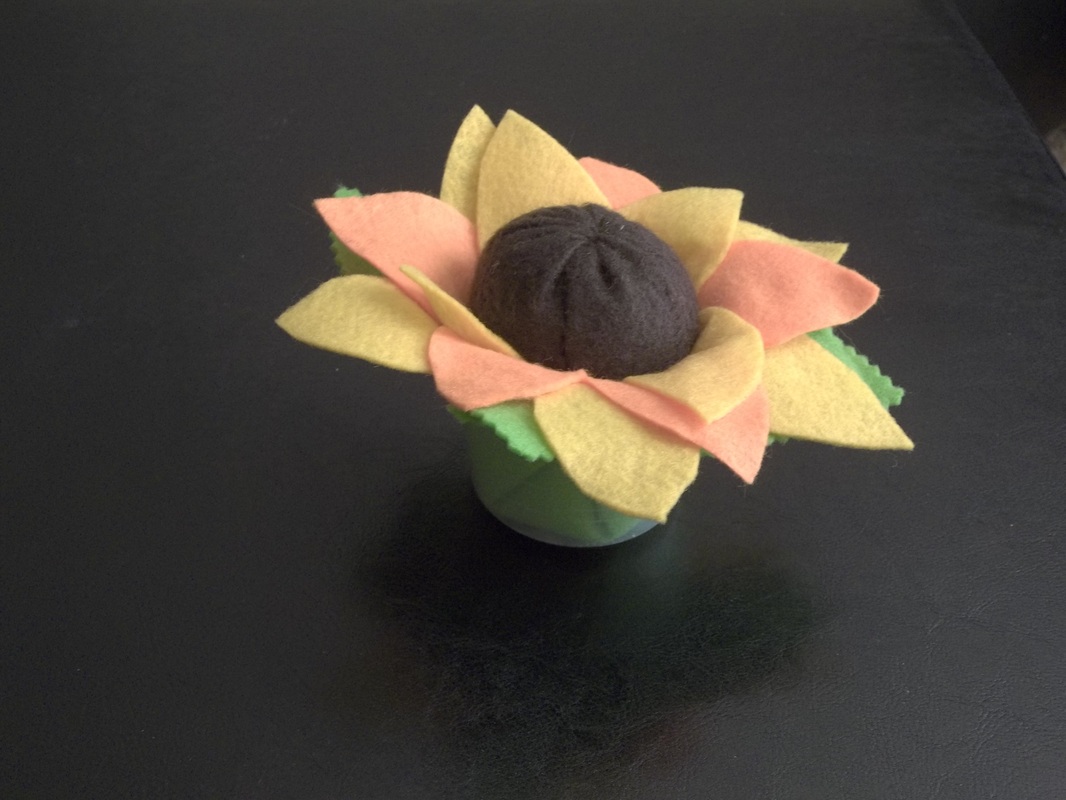
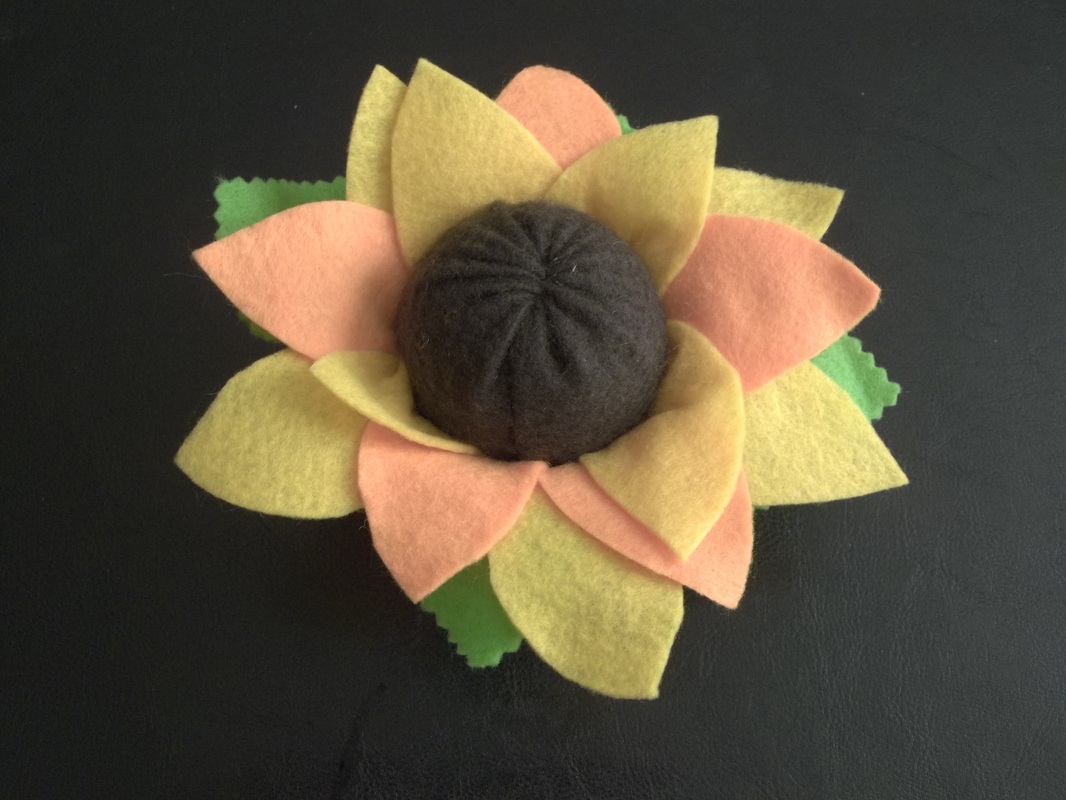
I can't believe how fast time is passing and how long it has been since I've posted...sorry about that! Sometimes life gets in the way of blogging! :) Over the past few weeks I have completed some small projects, not really "artsy," but fun, none the less! Here's what I've been up to:  I love Valentine's Day! Over the past year and half, I've taught myself how to tat and I'm experimenting with ways to incorporate what I make into more than just doilies. For this decoration I used fabric scraps, 4 tatted hearts, ribbons, rick rack, beads, decorative threads, and stencils. I made it free standing by using a very stiff, fusible stabilizer in the middle. Fun! A spunky sunflower pincushion! You know the plastic caps from laundry detergent, I used one for the base! It gives the cushion a nice flat bottom and some stability. I first used my pinking shears on a green square of felt and then glued it into the cap. The square folded and twisted a bit during the process which gives the impression of leaves. :) Next, I free cut petals out of scrap lemon yellow and light orange felt. Then I layered and glued them to the inside edges for the petals. For some weight, I poured in some crushed walnut shells to the bottom of the felt lined cap. I made the center by hand stitching a brown felt tube. I gathered one end, turned it right side out and then stuffed it with polyester fiber fill. I stitched it closed and then glued it into the center of the petals and down into the cap. I love how it turned out! It seemed like a "tablet" kind of Christmas at our house!
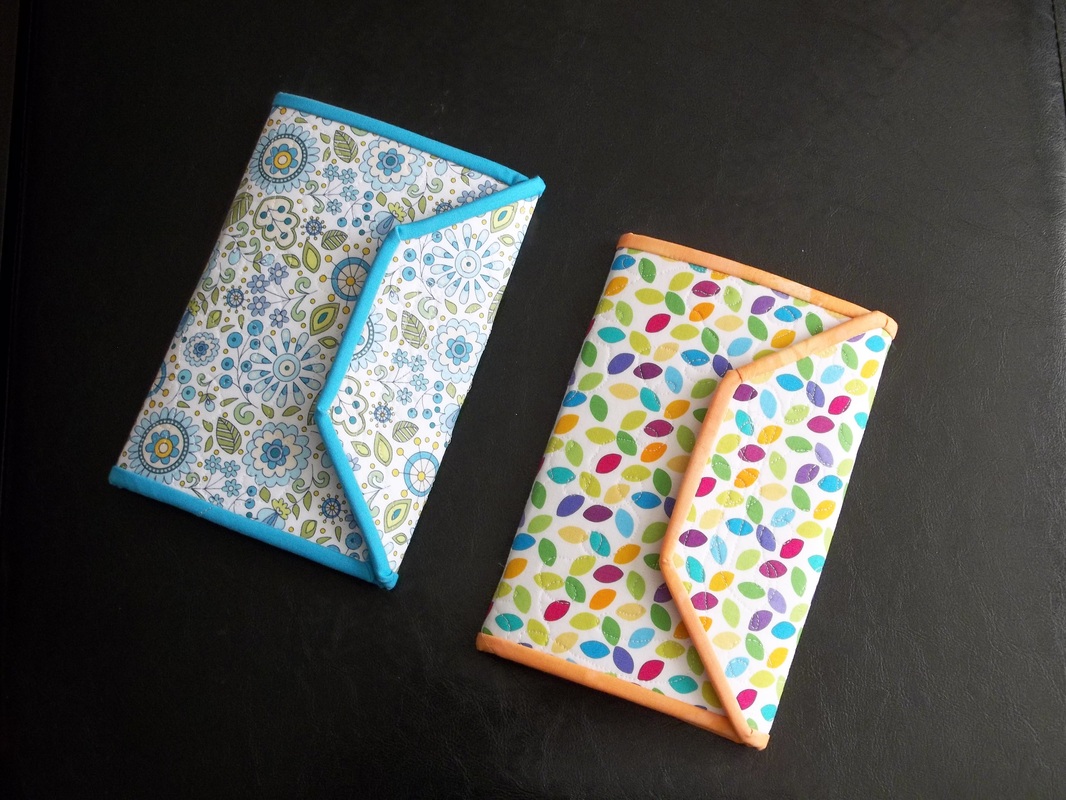
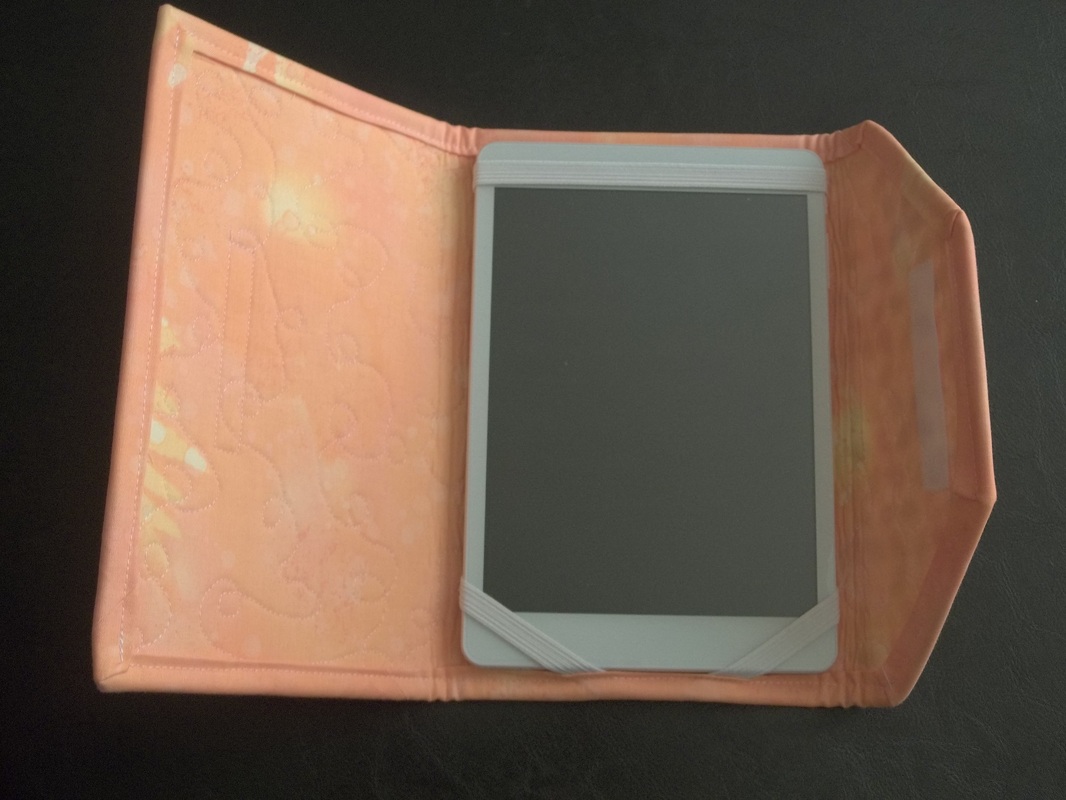
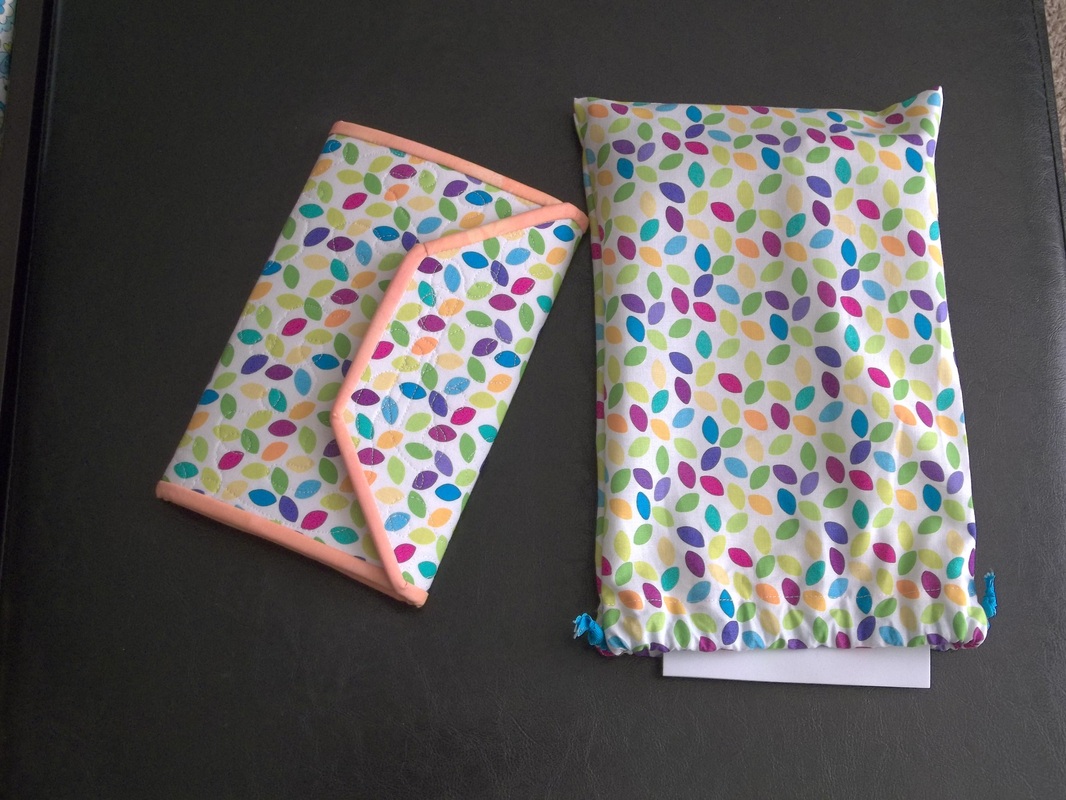
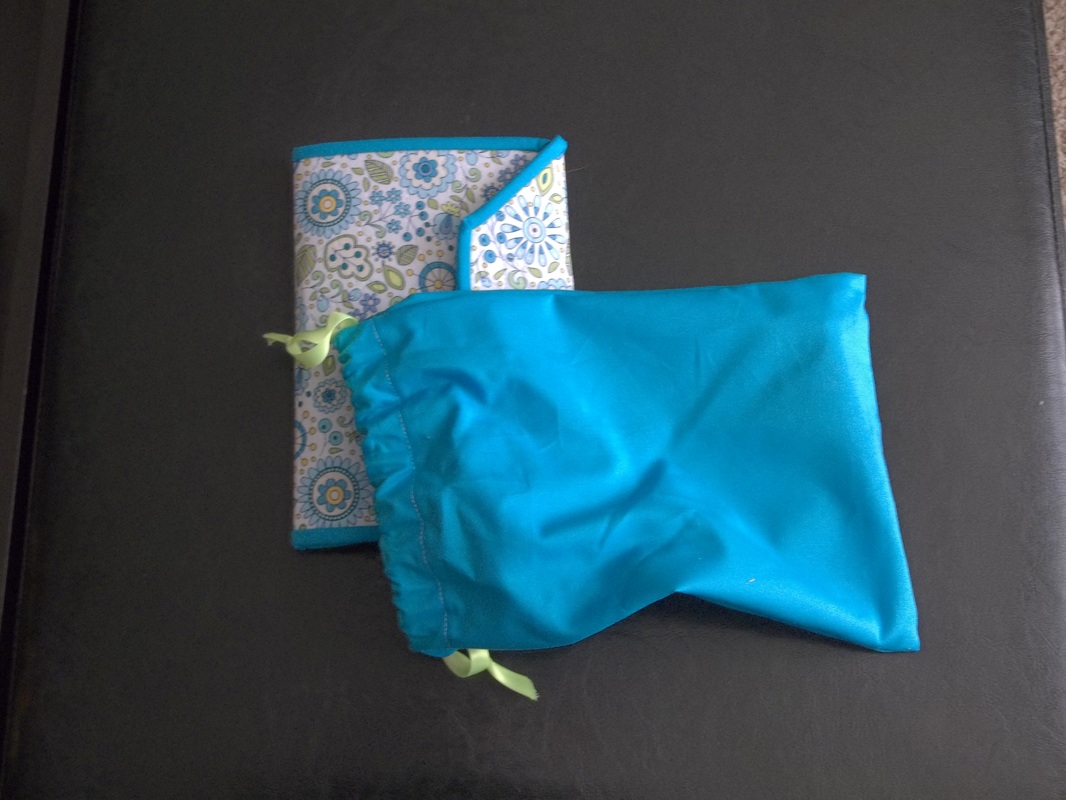
To protect these little tech gizmos, I started making covers. To begin, I took some measurements, made a freezer paper pattern and used stiff fusible stabilizer in between two pieces of fabric. I free-motioned random squiggle designs and then added elastic straps to hold the tablets in at the corners and across the top. I finished them off by binding them just like quilts and adding a hook and loop tape closure. After I finished the first one, I decided to make quick, coordinating draw-string bags that are large enough to hold the tablet, a stylus and the charger so it would be easy to grab and go! Fun and useful! And I think this might almost be the best part of every project I've shown you.....I didn't have to buy a single thing! Yes! You read that right! Not one thing! I used bits and pieces, scraps and tidbits from my stash and you'd never know it. I even managed a little recycling! :) I'd love to see what you've been up to with your stash of supplies! Send me some pictures! :)
0 Comments
Do you participate in ornament exchanges? Or do you have people on your list that you need to make an ornament for? I usually have a dozen or so ornaments to make for people outside our immediate family. The challenge seems to be making them similar enough so I can work them up quickly, but different enough to show that I care. Here's what I came up with this year....mittens! 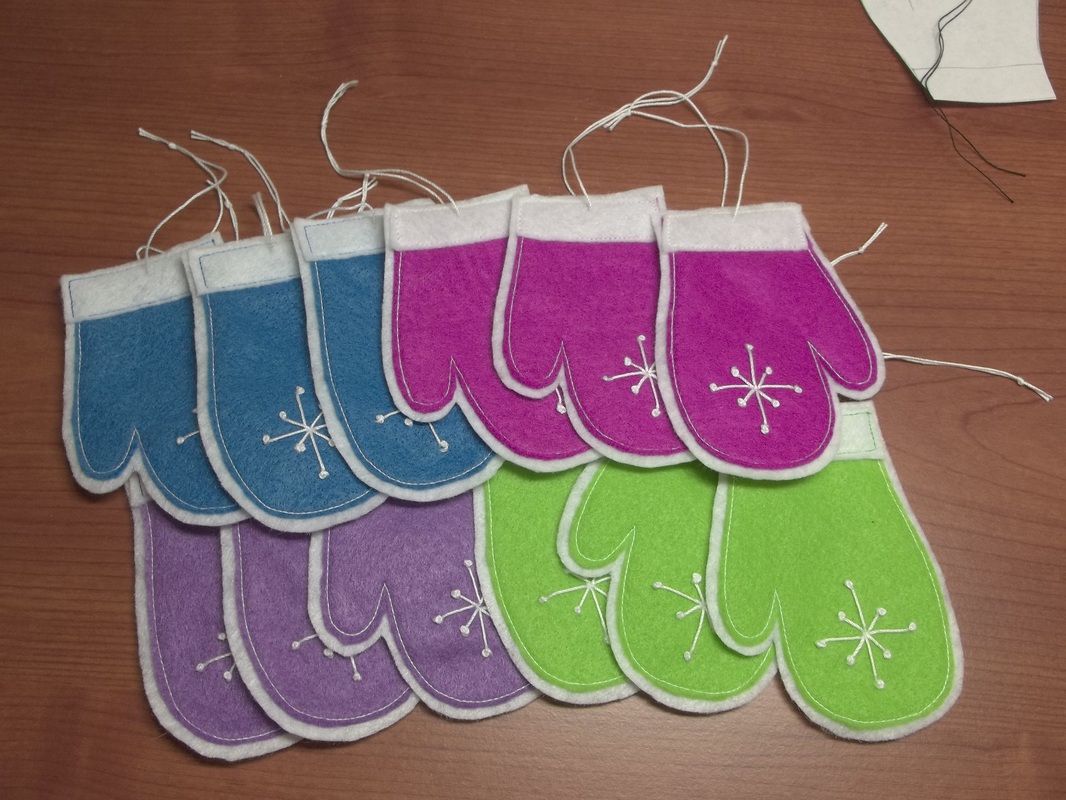 A dozen mittens. I started out by drawing a simple mitten shape on a scrap of paper. I cut it out and sprayed the back with temporary spray adhesive. I pressed it on to the colorful felt scraps I had and carefully cut out 12 mittens. Since felt is reversible, I flipped some over so they wouldn't all have the thumbs facing the same direction. After all there have to be right and left mittens! :) Then I threaded a needle with some white crochet cotton and hand stitched a simple snowflake motif. I used large straight stitches and then french knots for the end points. 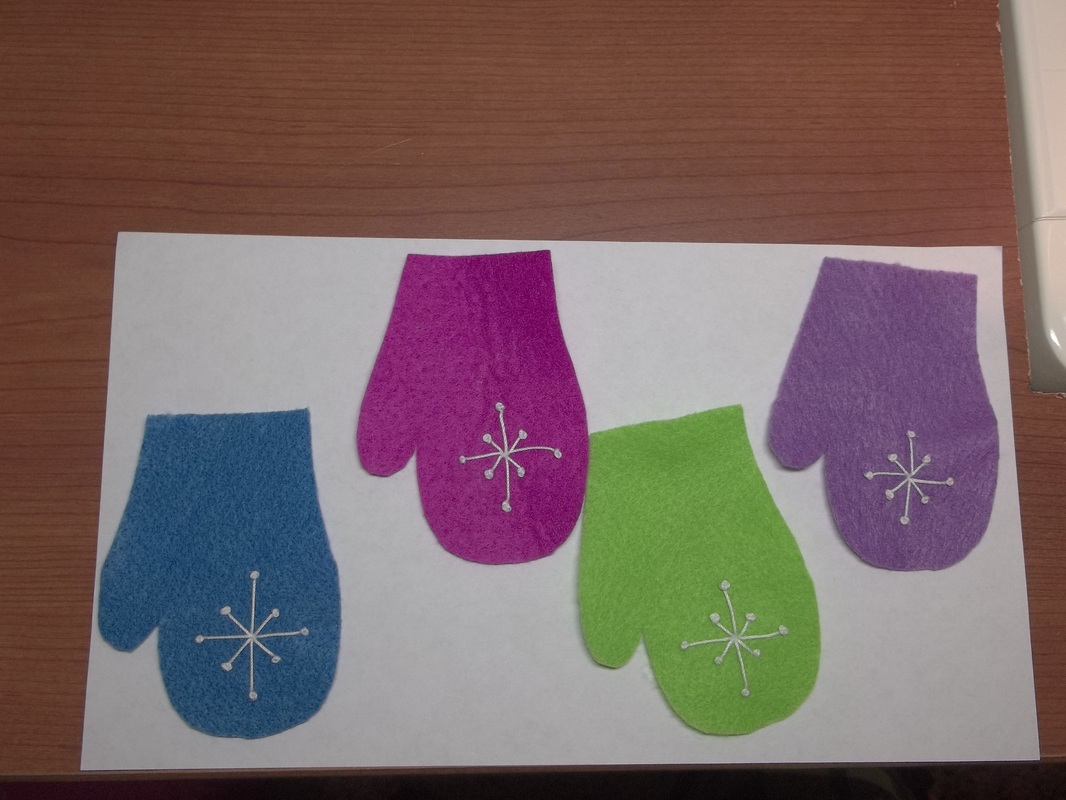 Stitched snowflakes I knew I wanted to cover up the stitching on the back of each mitten and give them a little more heft, so I decided to sew them on to white felt. To make this easier, I laid out six mittens on a 9 x 12" piece of felt, allowing some space in between. I used white thread in top and bobbin and sewed them in place. I repeated the process with the other six mittens. 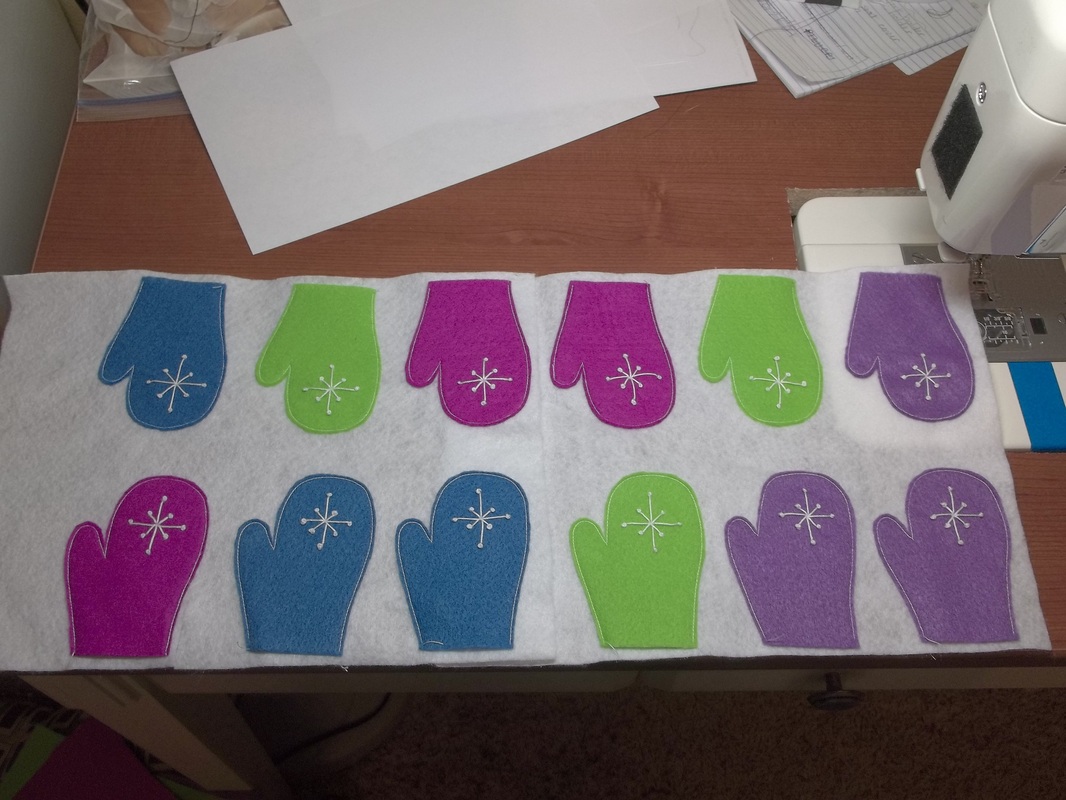 All 12 mittens stitched in place Next, I cut approximately 1/8" around each mitten so that each would have a white edge. (No need to measure, I just eye-balled it!) 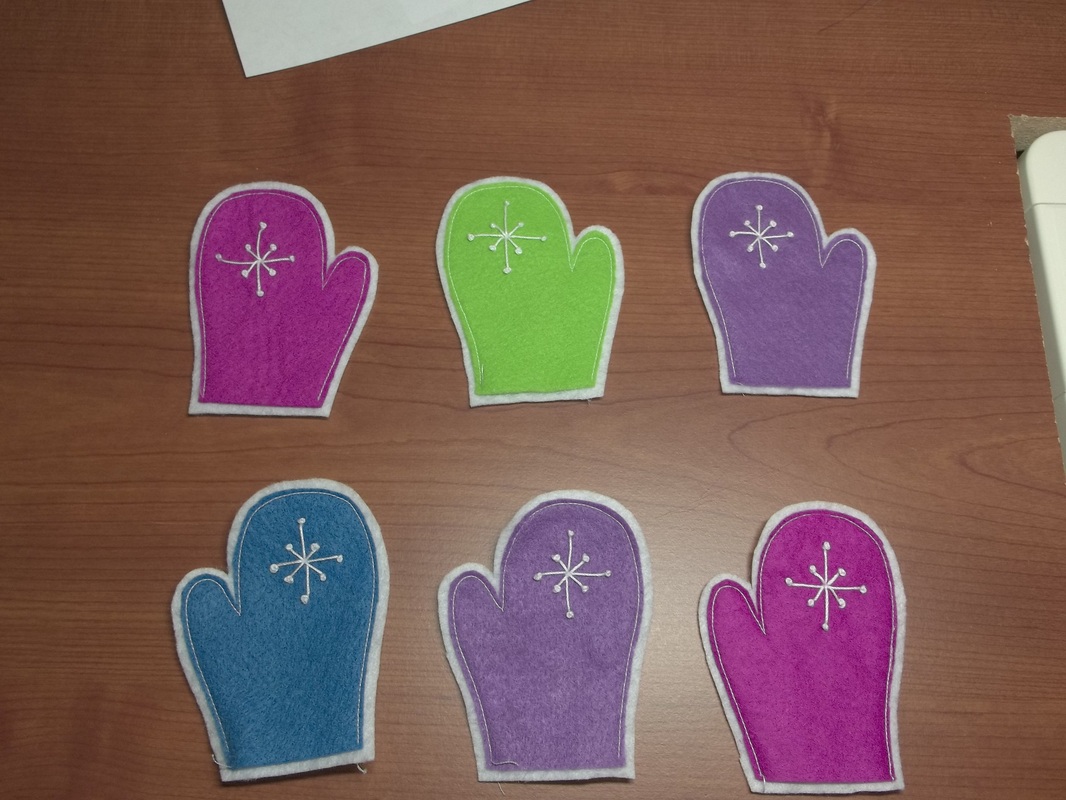 All trimmed up For the finishing touch, I took scraps from the white felt sheets and sewed on "cuffs" to each mitten. Depending on the colors of thread I had, some were sewn on using thread that matched the colored felt, while on others I had to use white. Cute either way! The final step? Thread another piece of crochet cotton (about 6" long) and go through the entire mitten about 1/4" down from the top of the cuff. Tie a knot and that's all there is to it! 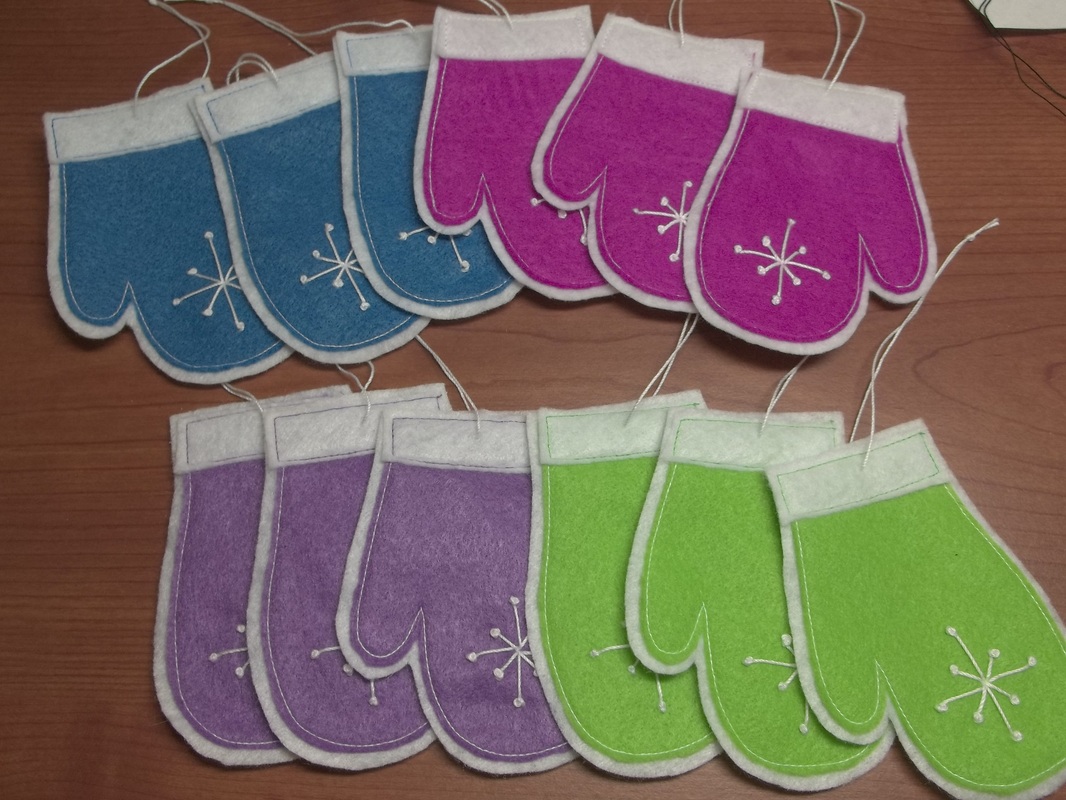 Ready to hang on a tree! Have anyone on your list you'd like to make a mitten for? I'd be happy to give this fun and simple little pattern in PDF format to anyone who emails me. Happy Stitching! :)
|