|
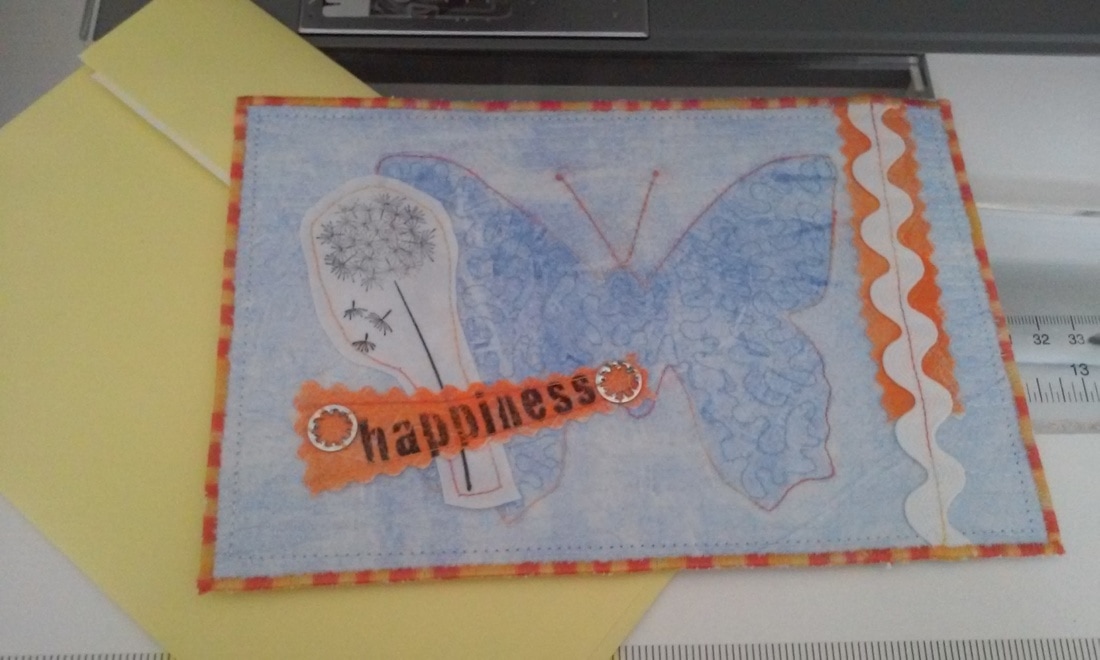
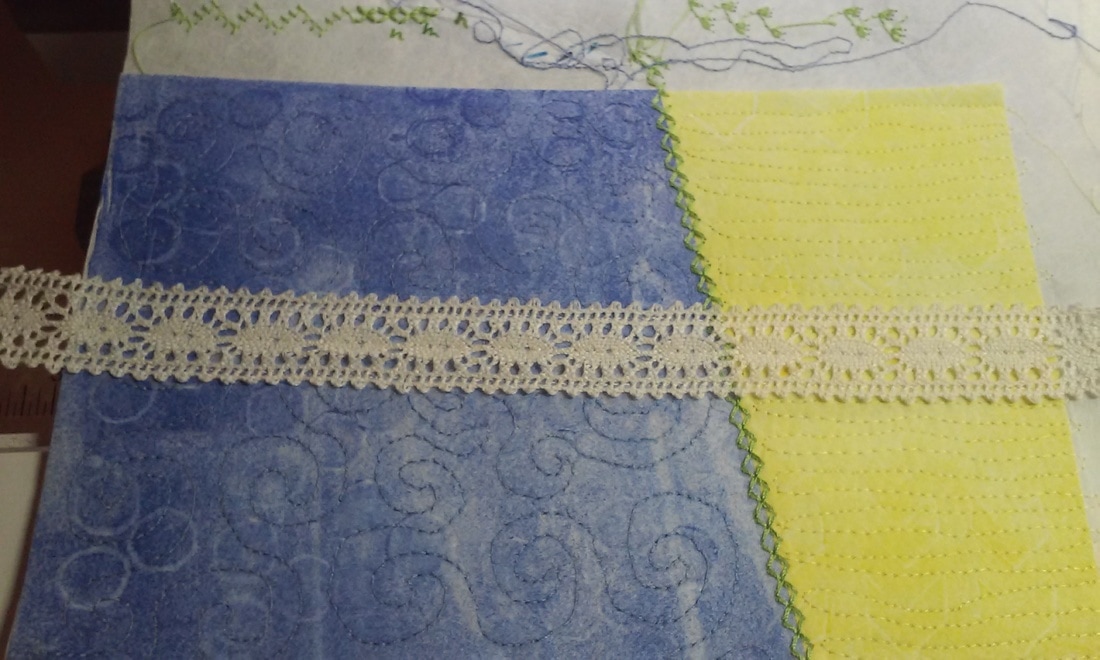
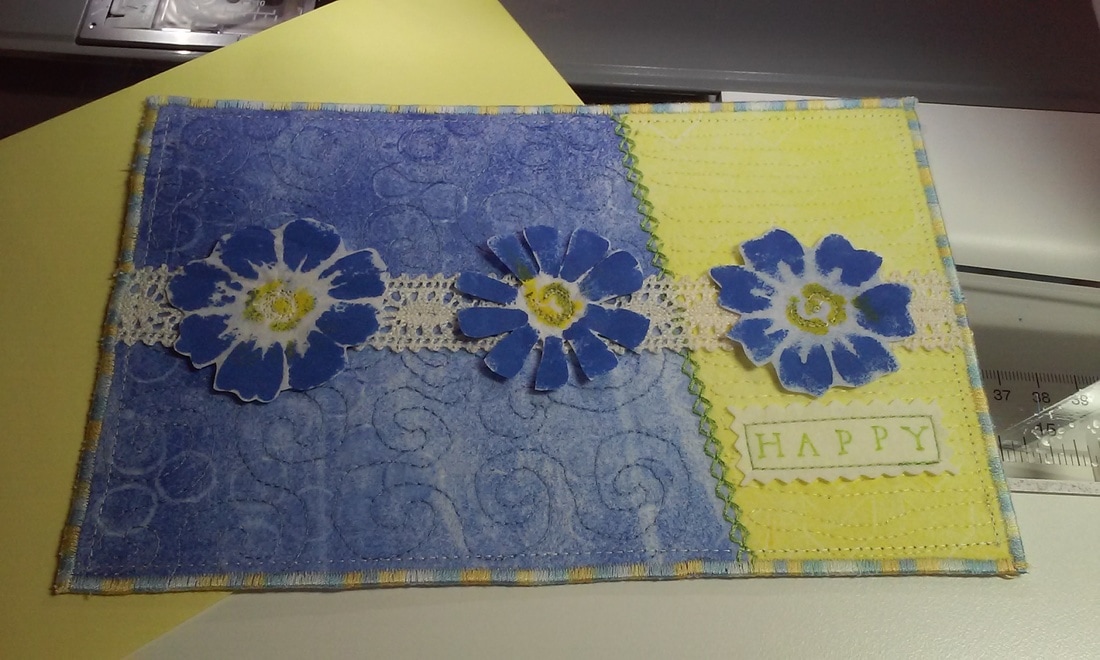
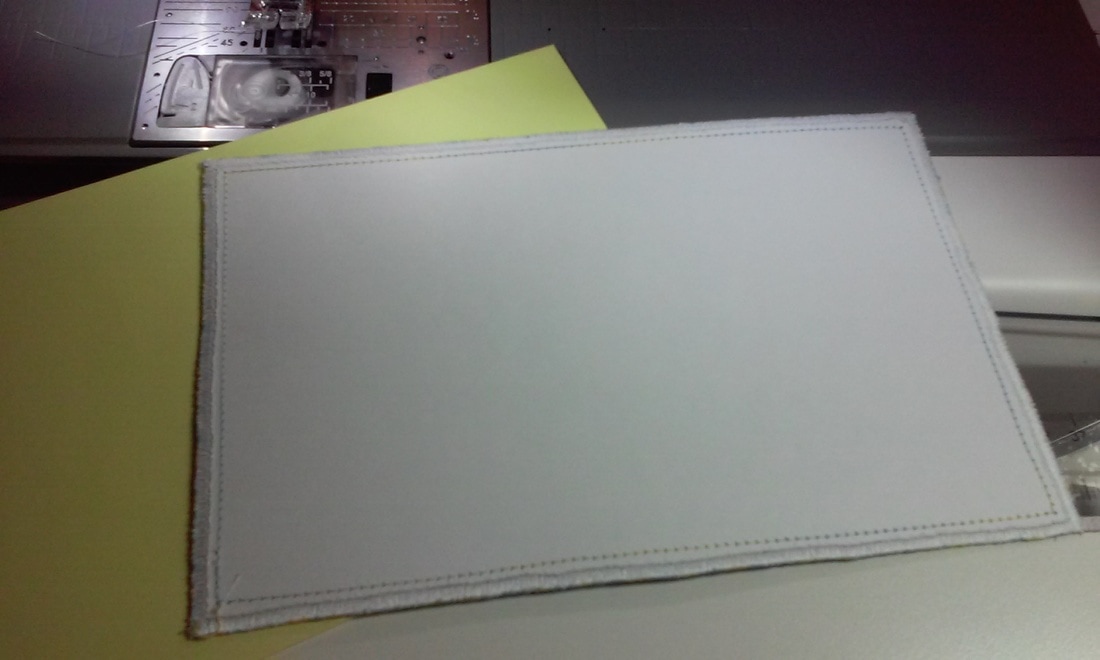
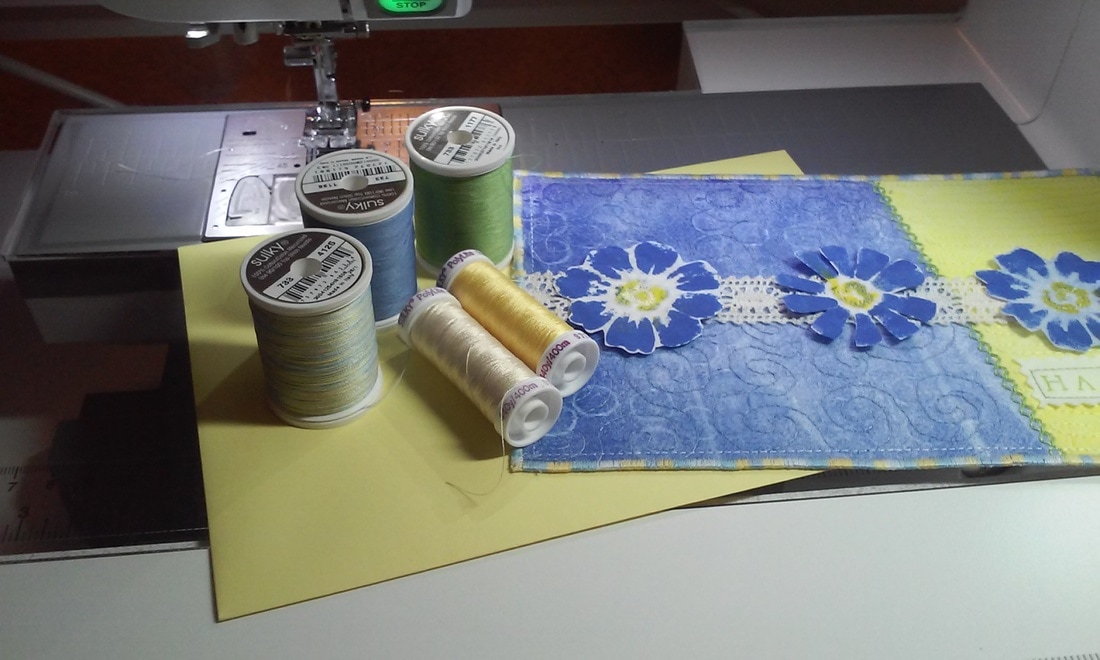
Almost three months since my last post....really? How did that happen? So sorry! Life is moving pretty fast these days, but I have managed to squeeze in some time for creativity! How about some fiber art greeting cards? :) These are like large postcards, measuring 5.5 x 8.5". All of the fabrics are actually Sulky Cut-Away Plus that I've printed and stamped on, and I included some other trims and embellishments. Here's a look at the steps I took to make the blue and yellow card: 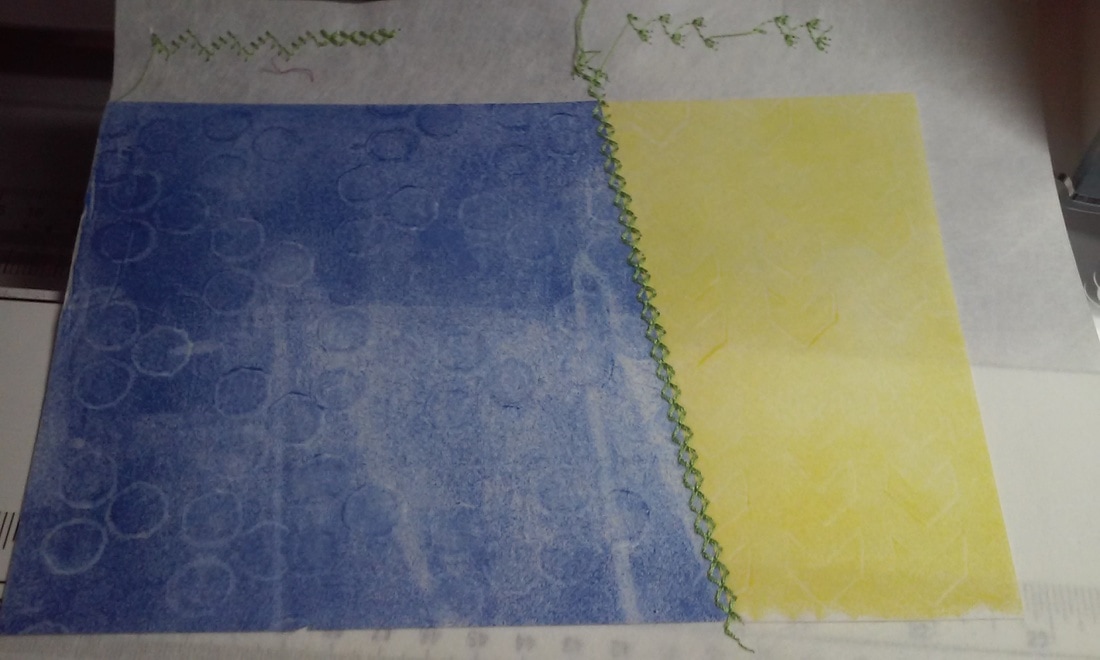 I sliced the printed stabilizer sheets at an angle and layered them on a clean sheet of Cut-Away. Next, I used a decorative stitch from my machine and sewed the two printed pieces together. You can see that the foundation layer of Cut-Away is larger than my card. This gives you something to grip while you sew and also some room to try out stitches! 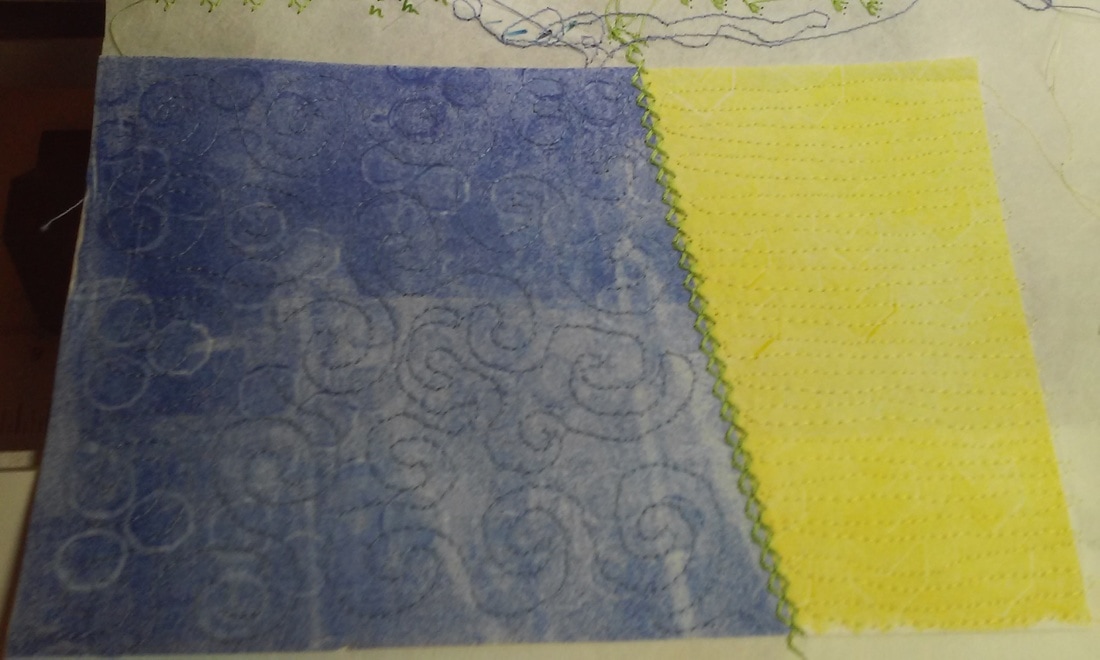 Nothing is ever complete without free motion stitching, right? I added blue swirls on the left and yellow wavy-horizontal lines on the right. Every stitch adds more texture and every layer of texture makes it more interesting! Next, I added some vintage lace and sewed it down the middle of the card. Then, I stenciled some blue and yellow flowers, cut them out and added the trio to the top of the lace. I also stamped "happy" with green ink and stitched it down with green thread. All of the flowers and the "happy" tag are made out of Cut-Away Plus! The last picture shows the card after I have trimmed the excess Cut-Away from the edges and before the final edge stitching. I satin stitched around the edge with a Sulky Cotton Blendable thread to give it a finished look. Last step? I straight stitched a piece of card stock to the back to give me space to write and to cover my thread tails! I love using different weights and types of Sulky threads on every one of my projects!
It's amazing to see how much texture and interest the threads provide! So, these little pieces of art will go their new homes soon. Small enough, for me to complete fairly quickly and easy for the recipients to display, but large enough to show that I care! XOXOXO
0 Comments
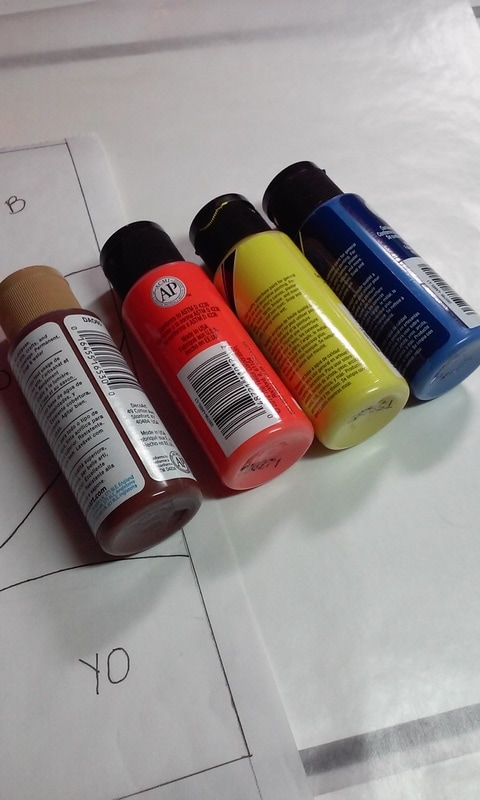
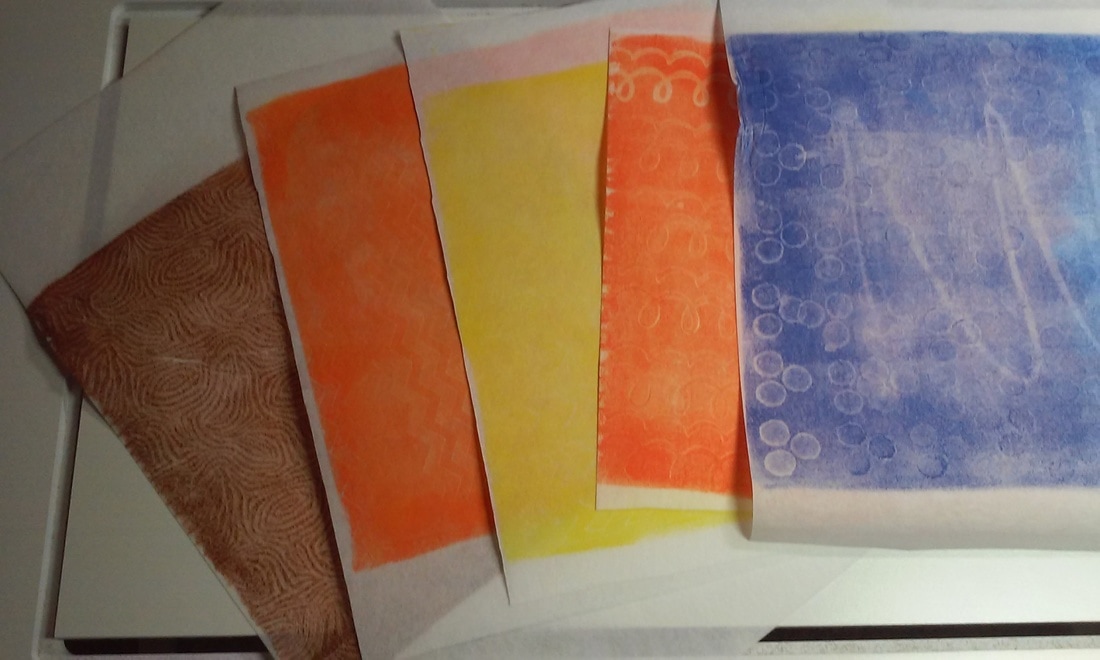
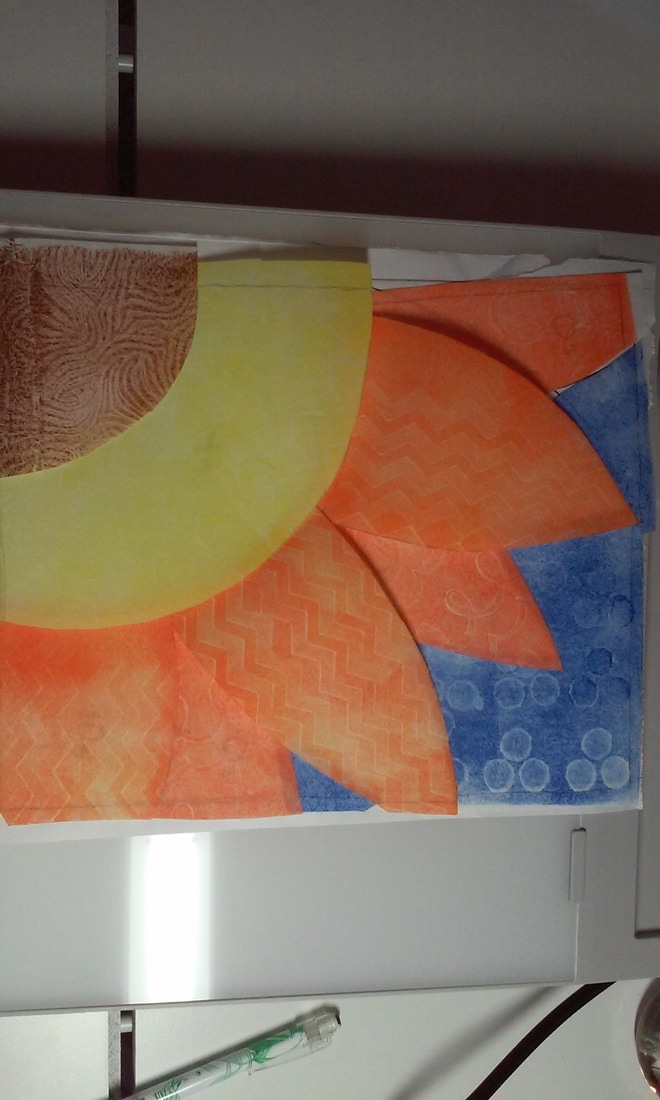
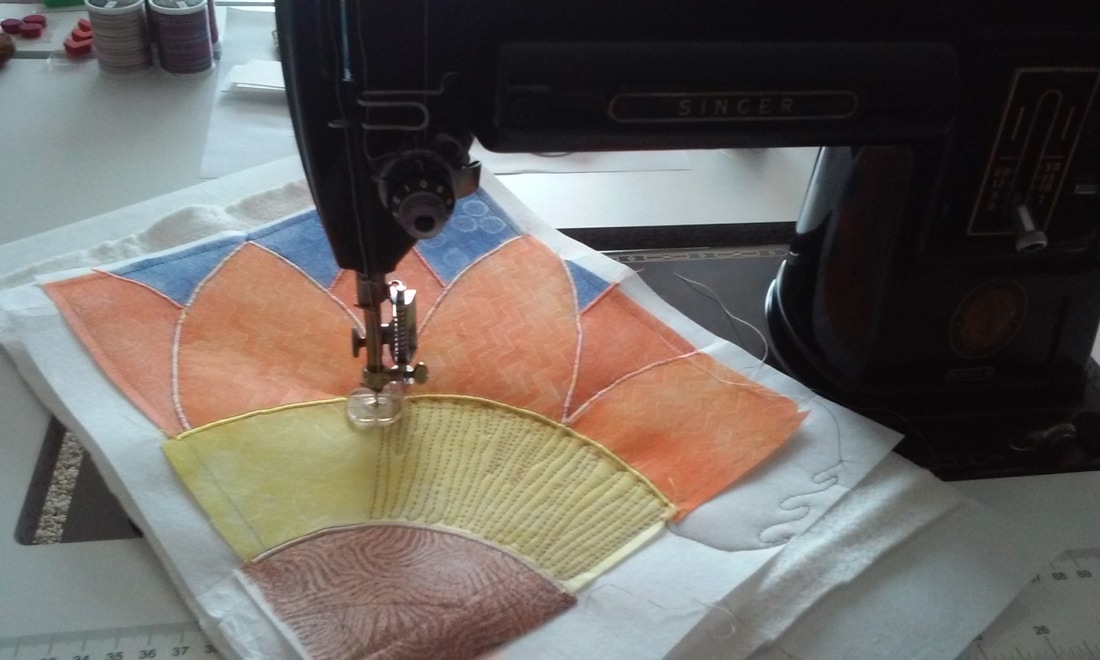
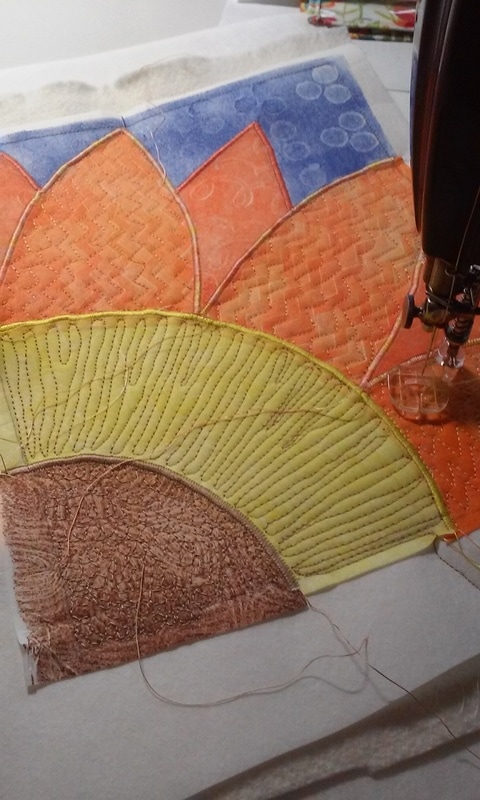
I have a bad case of Spring Fever! A few days ago, the urge to create something bright and happy struck me! 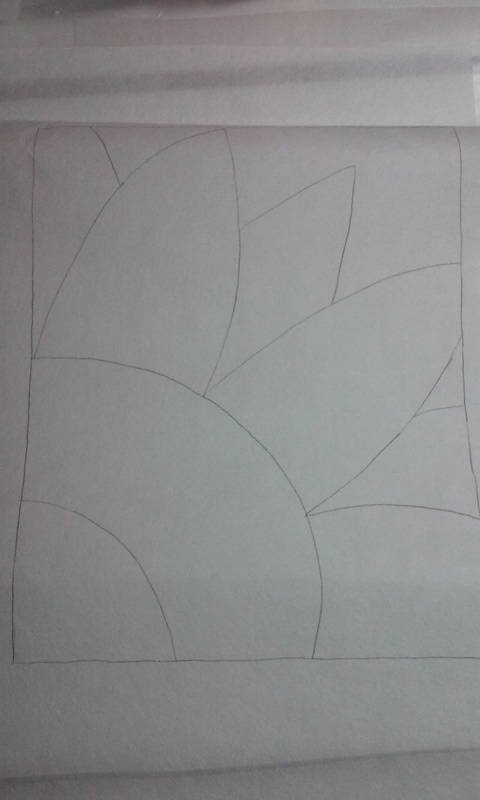 Here's where I started. What's that saying about humble beginnings? :) I drew a very basic flower shape on some freezer paper (I always have a box of it on hand!). I purposefully made the sections large so that I could try out a new technique I've been thinking about. 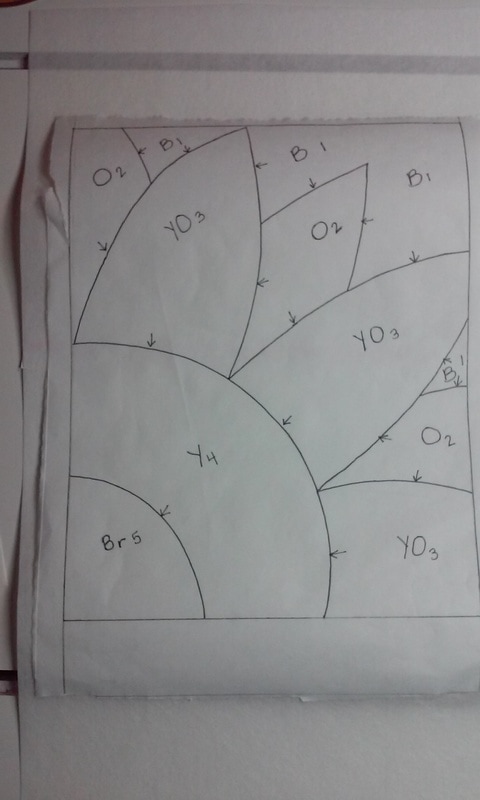 I traced over my original lines with a thicker pen and labeled all of the sections. Can you see where I got the name "Paint by Number Applique" from? Next, I used a pencil and traced the design on to a piece of Sulky Cut-Away Plus. On to the "painting" part! I used acrylic paint, more Cut-Away Plus, my gelatin plate and some stamps and stencils to make my "fabrics" for the applique. I used my original paper pattern and traced the shapes on to the appropriate colors. I cut the shapes out, leaving a little edge to get caught in the seam. Another awesome thing about using the Cut-Away Plus for this type of applique is that there are no raw edges to turn under like traditional cotton fabric! Next step? Sew it all down! I set my machine to make a medium satin stitch and worked layer by layer. The only exception? The sky layer, I straight stitched on the edges. Now for the free motion stitching! I used some Sulky 30 wt cotton threads and my vintage Singer 301 from the 50's for this part. LOVE that machine! If you follow me on Facebook, you already may have seen this. What? You don't follow me on Facebook? ;) I used eight different spools of thread to add dimension and then I finished the edges in a satin stitch. Here's the finished piece: 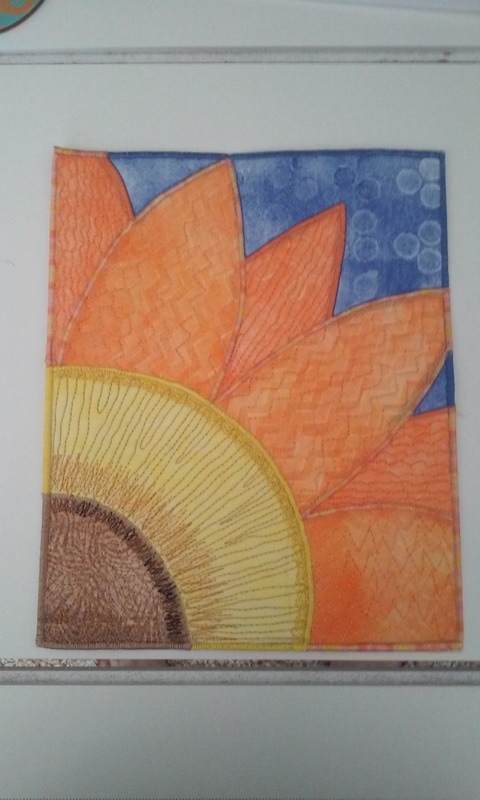 All finished! I'd love to hear what you think!
Is this technique something you might try? |