|
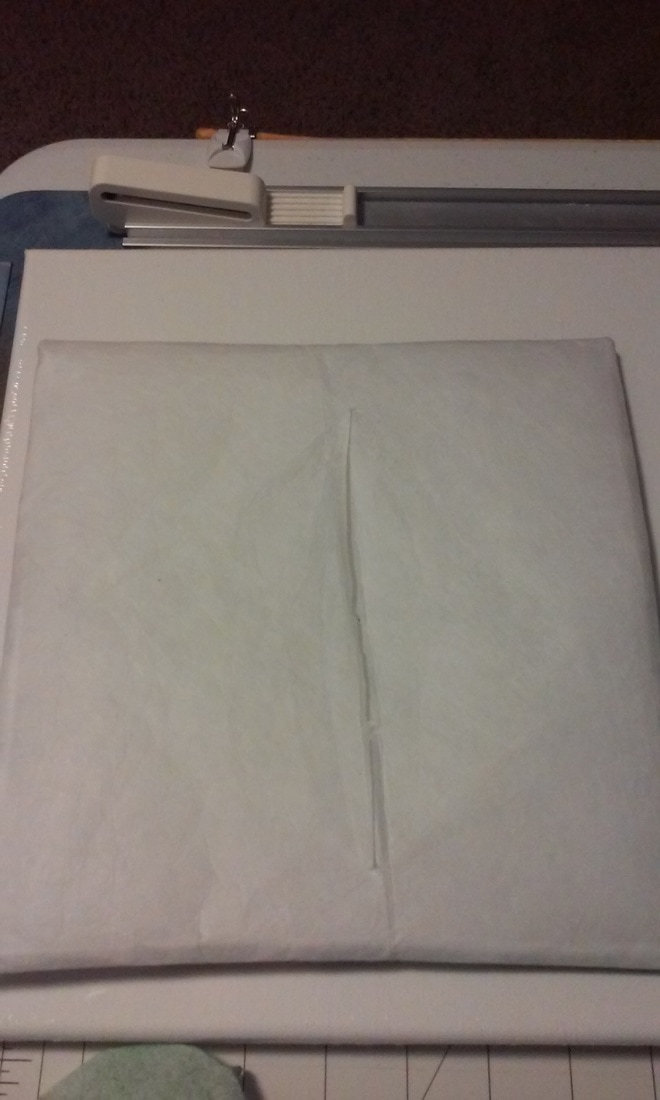
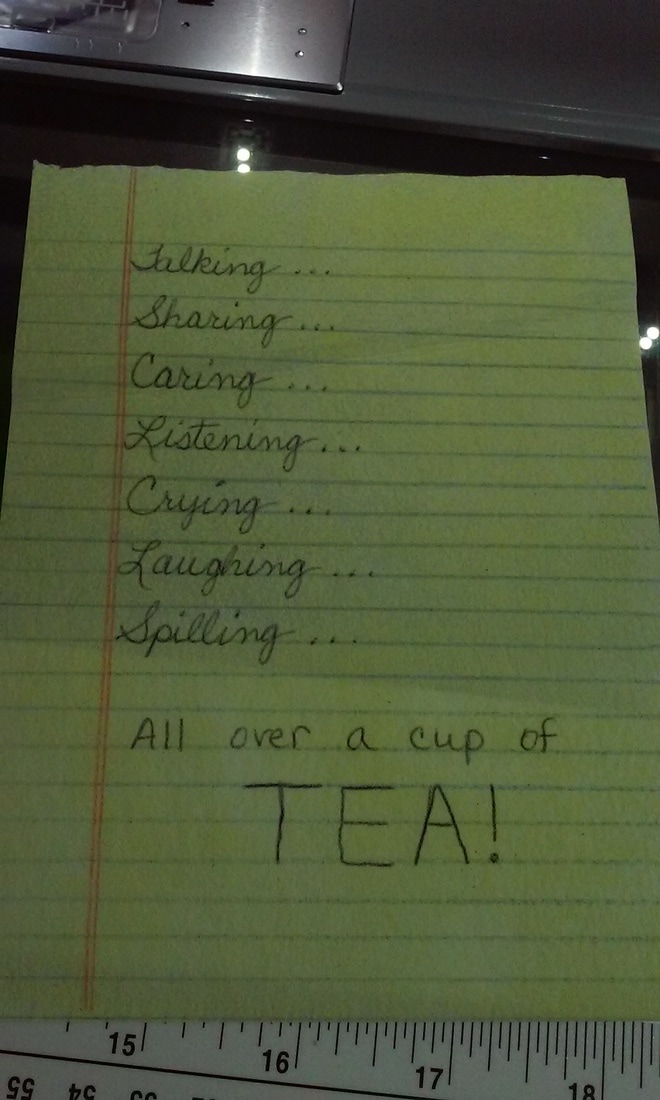
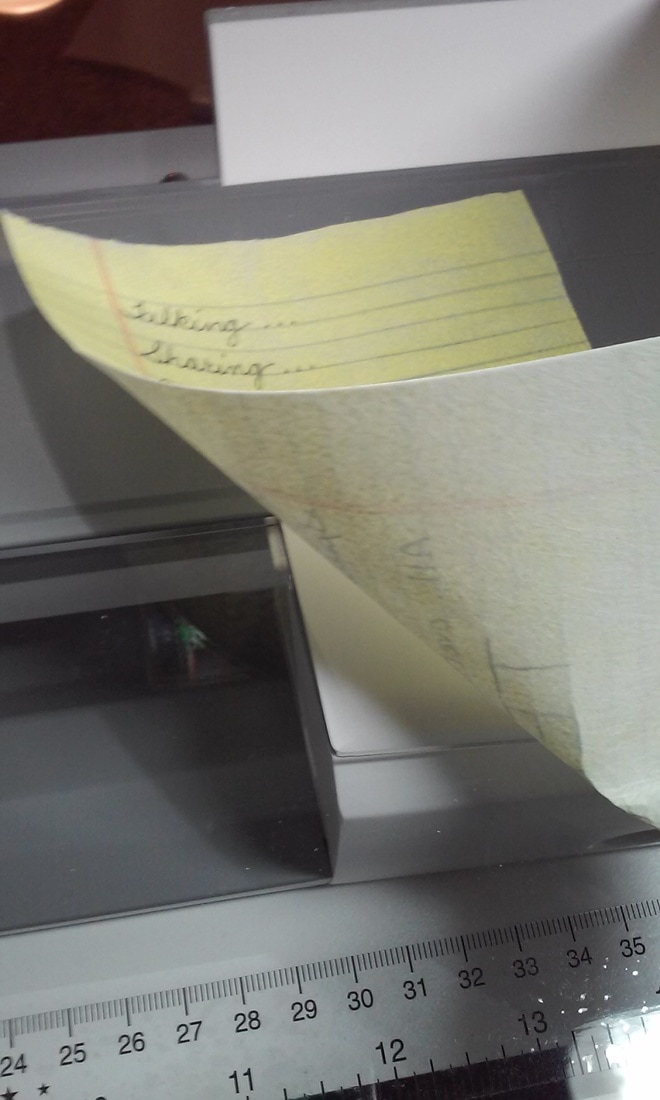
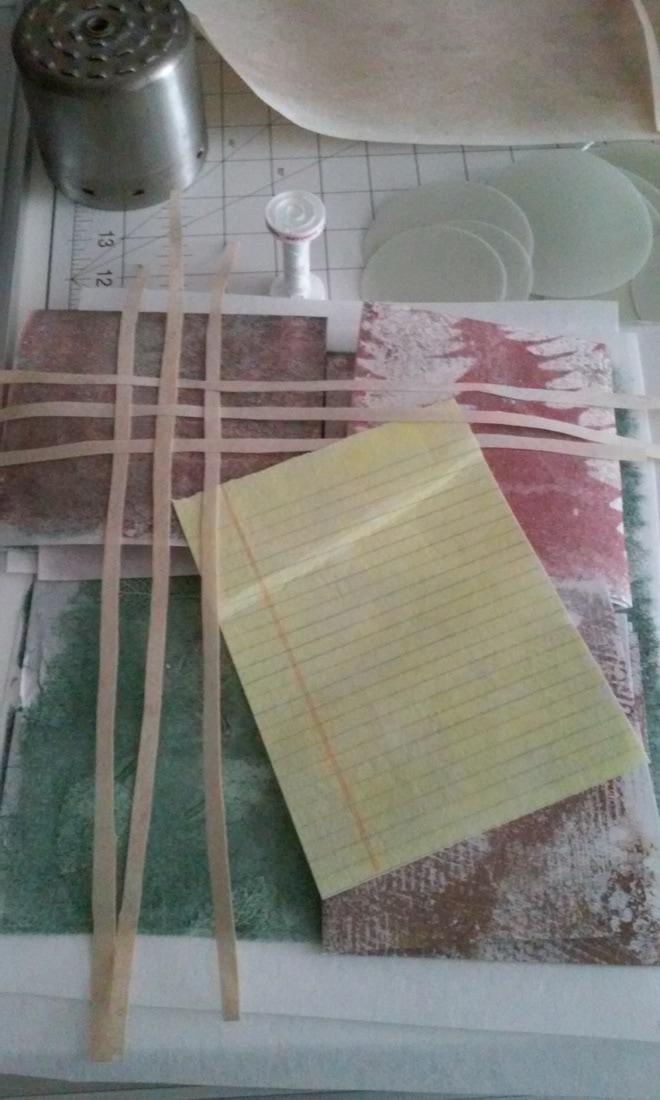
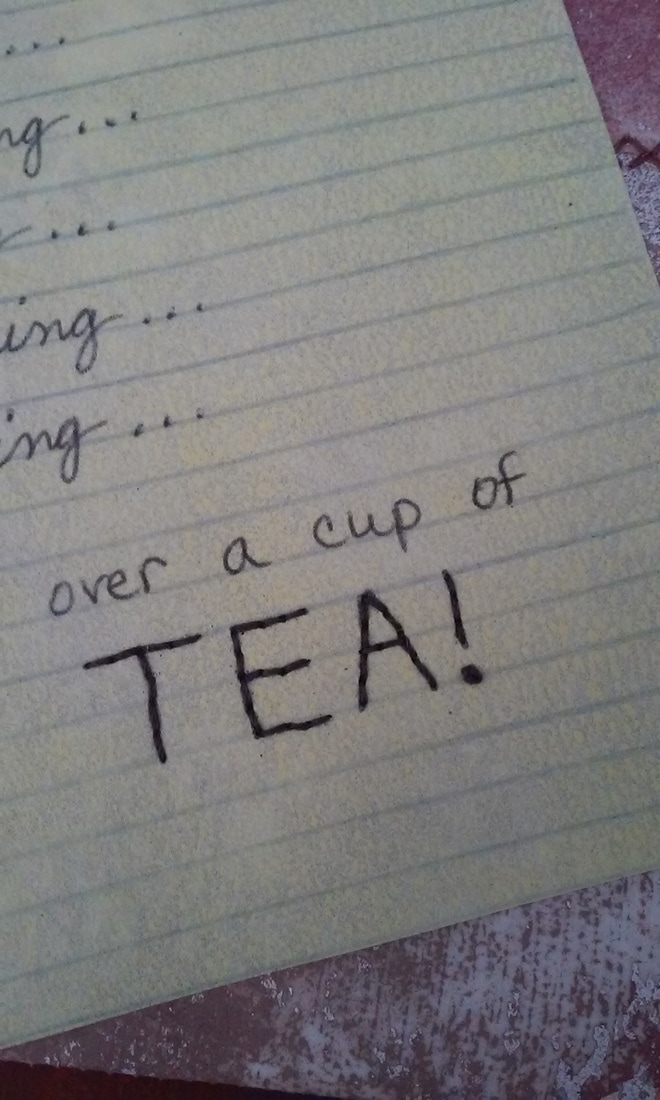
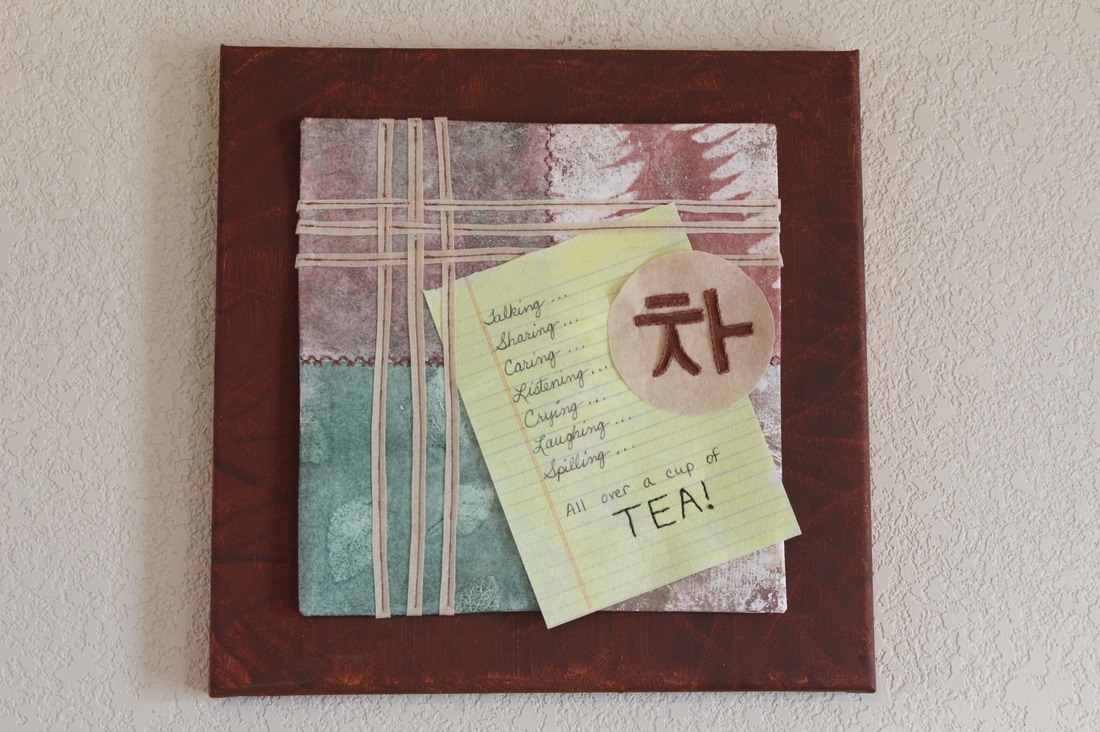
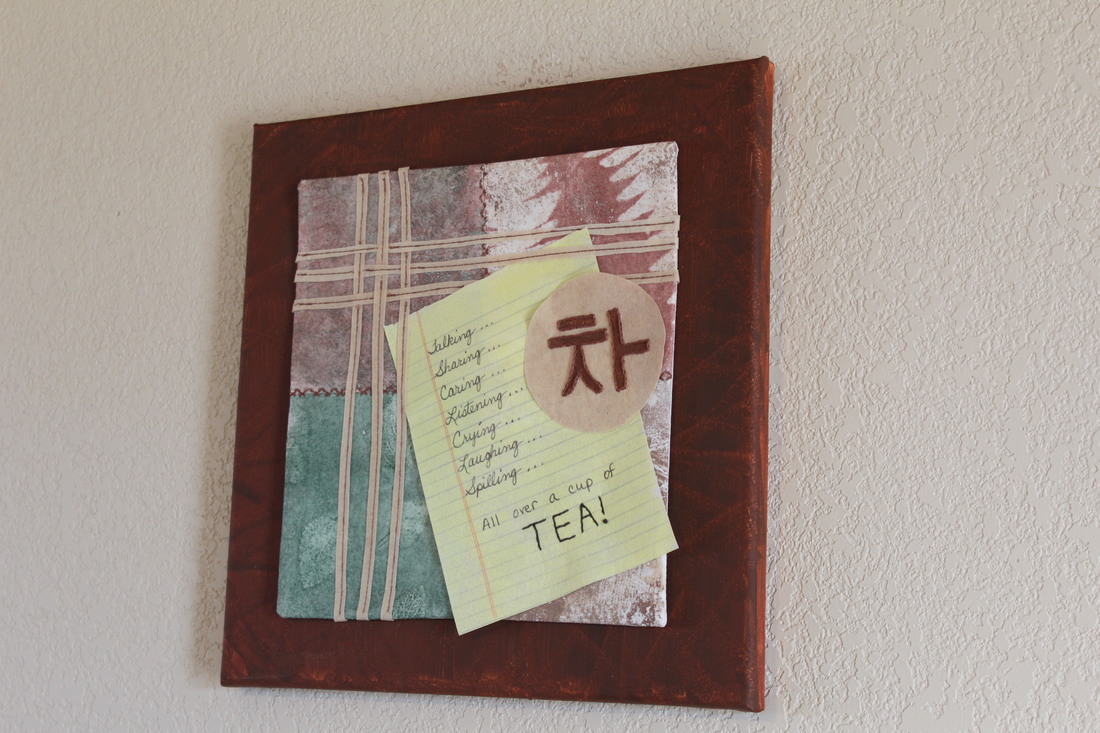
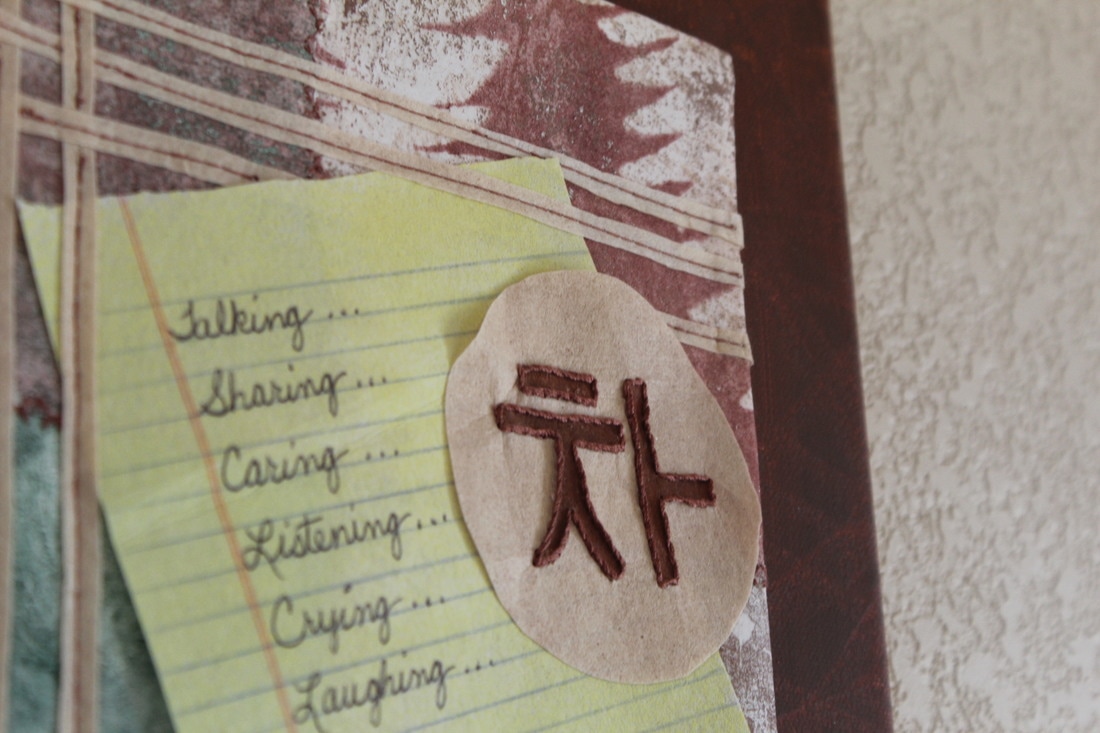
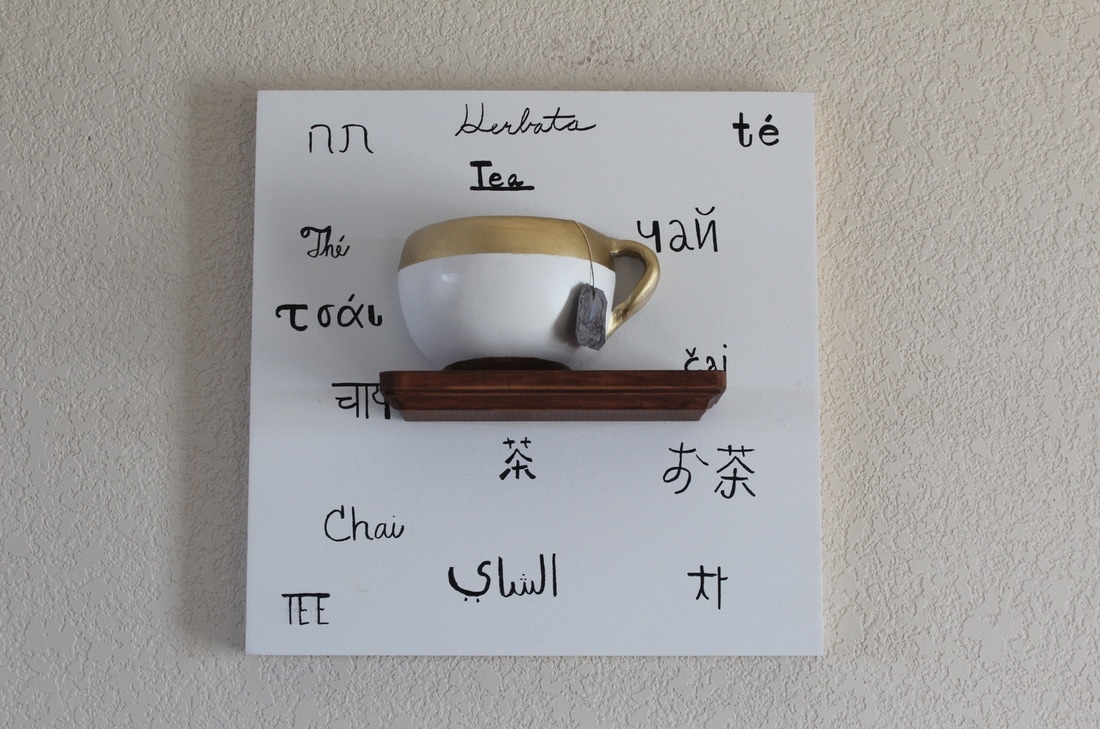
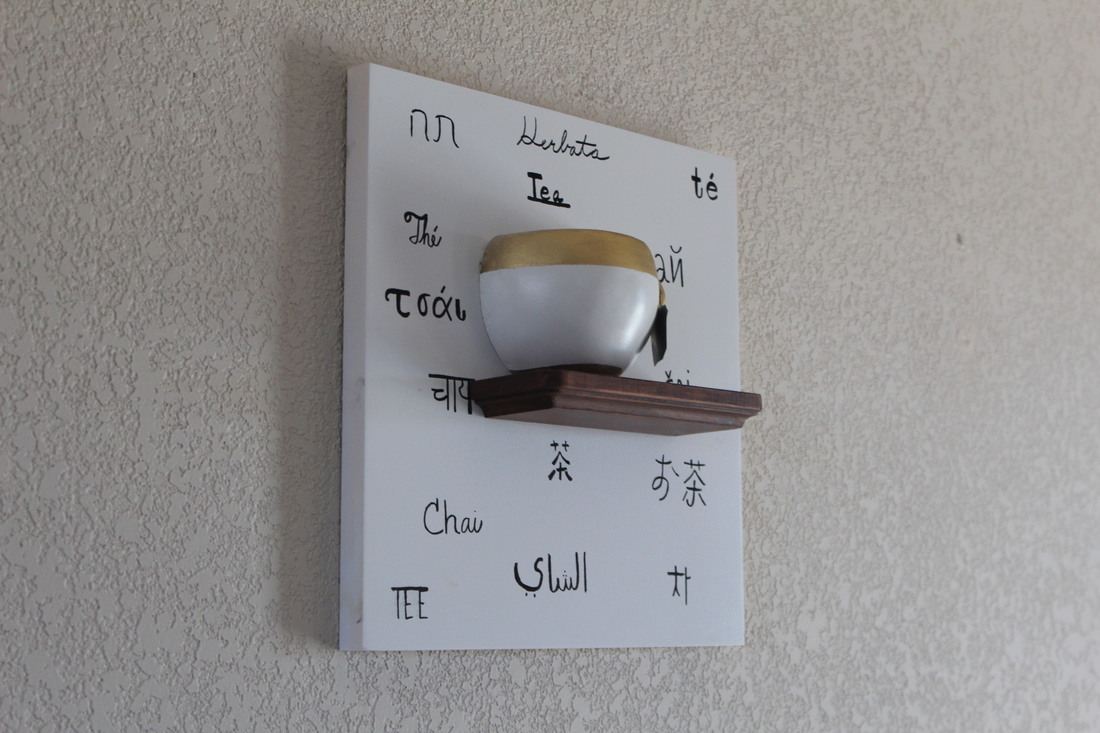
Welcome back! :) Are you ready to see how it all came together? In my previous post, I told you that I used another piece of Sulky Cut-Away Plus for the backing and sewed everything right sides together and then turned it. The picture on the left shows the slit I made in the backing to do that, leaving nice, clean edges for the front. In the middle and right pictures, you will see the "piece of paper" I monoprinted as the main design element of the piece. See how there are no lines on the back and that it is still white? All printed! Backing up a few steps, now you can see how I wanted to integrate the "paper" into the design. The picture on the right shows the weaving sewn down by machine, catching the "paper" to secure it as well. I decided to paint the mounting canvas a reddish-brown to compliment the other tones. So the assembly is nearly complete! The multiple layers of stabilizer and the canvas did make the stitching a little slow-going, but it was worth it. Are you ready to see the front? :) So what do you think? After getting it all together, it still needed something else. I found the Korean character for tea, made my own stamp and printed it on the tea-stained remnants of stabilizer. I used the stem stitch to enhance the outline and to secure it to the piece. You may remember that this was for a juried show. I shared the call for entry with my son who is going into graphic design and this is what he came up with: Same call for entry, but isn't amazing how different the two pieces are?
He chose to focus on the multi-ethnicity of tea. I love the cup he sculpted out of air-dry clay! You can see more of his work here. I'll let you know if either or both of us are accepted into the exhibit!
0 Comments
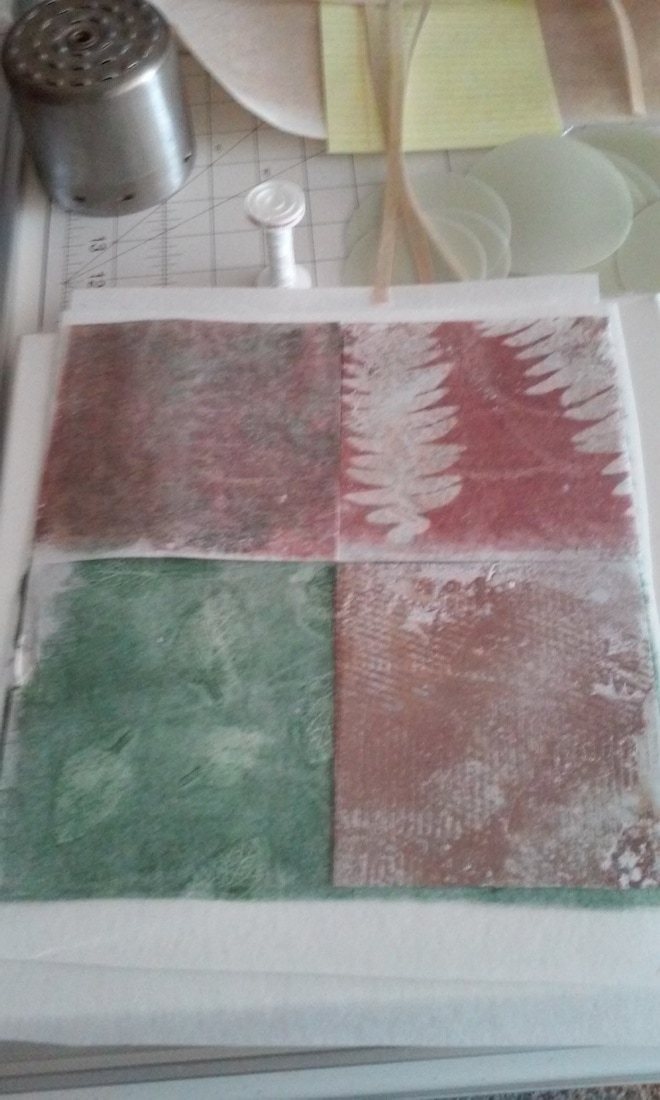
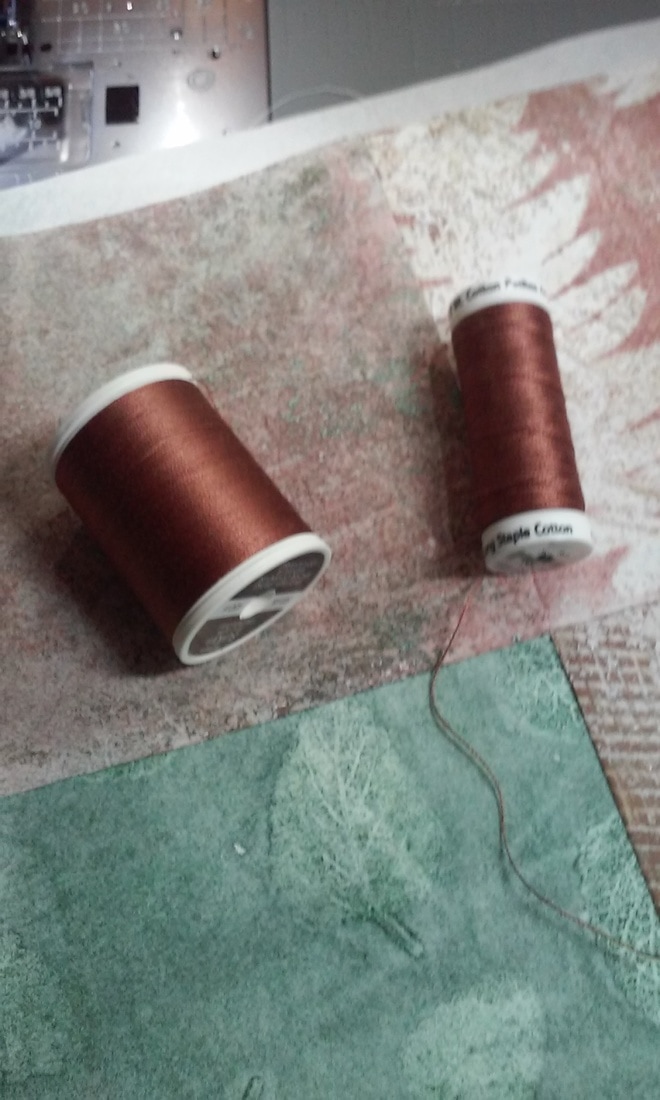
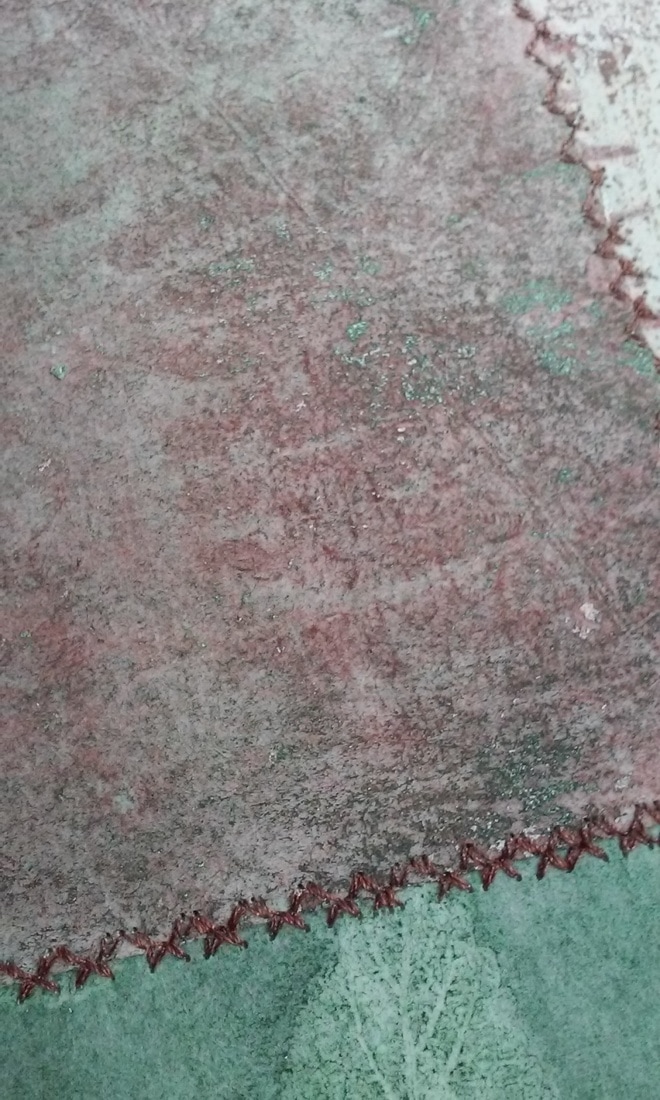
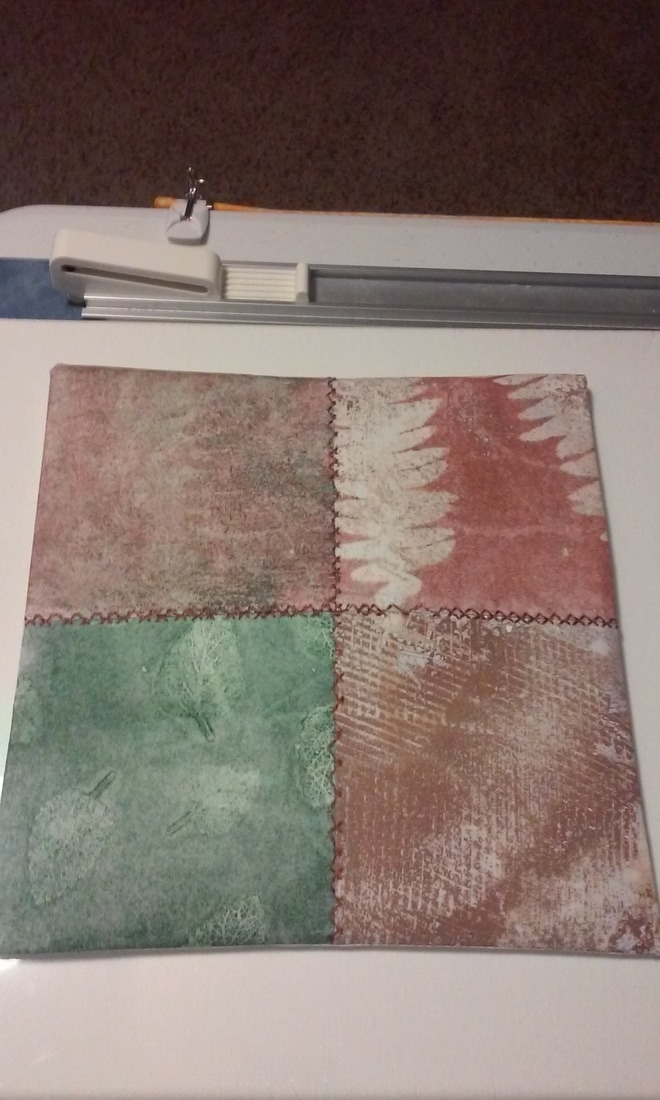
Before the end of 2016, I found a call for entry for a juried show that I thought would be a great challenge. I am finishing up my entry, but I will share some pictures with you of the piece in progress: If you've been following my blog as of late, you know that I've been working with monoprinted stabilizer. If you're new, (Welcome!) you can read about it here. In the pics above, you can see I'm using four different prints, but putting them all together for the background. The picture on the left also shows some tea-dyed Cut-Away Plus that I sliced into strips to add a woven element. I chose the same color Sulky cotton thread in two different weights for the accent stitching. The lighter, 30wt thread, I used in my machine and the 12wt is for hand stitching later.
The picture on the right shows the background after I used another piece of Cut-Away Plus for the backing and sewed it rst. All of the raw edges are gone and it is ready for more assembly. Come back soon, to see how the rest of the piece came together! |