|
While continuing to incorporate elements cut on my electronic cutting machine into my fiber art, I decided that I wanted to try making two art pieces at once — pieces that are very, very similar, but not exactly alike. Another goal? To make them fiber art versions of some of the mixed media art pieces that I make on canvasses. Here are both pieces: Going for a "deconstructed" theme, I started with 3 background fabrics, 2 commercially printed cottons and another that I printed myself. I laid them on top of each other and sliced through all three layers with my rotary cutter in a random pattern. I "pieced" the backgrounds back together by selecting pieces from each fabric and placing them on a non-woven fusible. (I got busy creating and didn't think to take pics during every single step...so sorry about that! It will probably make more sense when you look at the photos above and below.) After I mono-printed the butterflies with metallic paint, I used some stencils and black acrylic paint to achieve the black elements on the background, added some free motion quilting to secure the layers together and then tried different butterfly combinations for each piece. Ultimately, I decided that the butterflies needed to "rest" on something to make them really stand out, and chose to use cheesecloth. Later, I realized that this layer mimicked a butterfly net! :) After deciding on each butterfly's placement, I used the free-motion zig zag stich to secure them and used some more of the metallic acrylic paint to go over the stitching lines for more definition. Next? Borders! I added black mitered borders to mimic frames and finished each 11 x 14" piece using an envelope facing. After a quick press to smooth out the edges, I mounted each one on an artist canvas painted with black acrylic! I will be listing these on etsy soon! :)
0 Comments
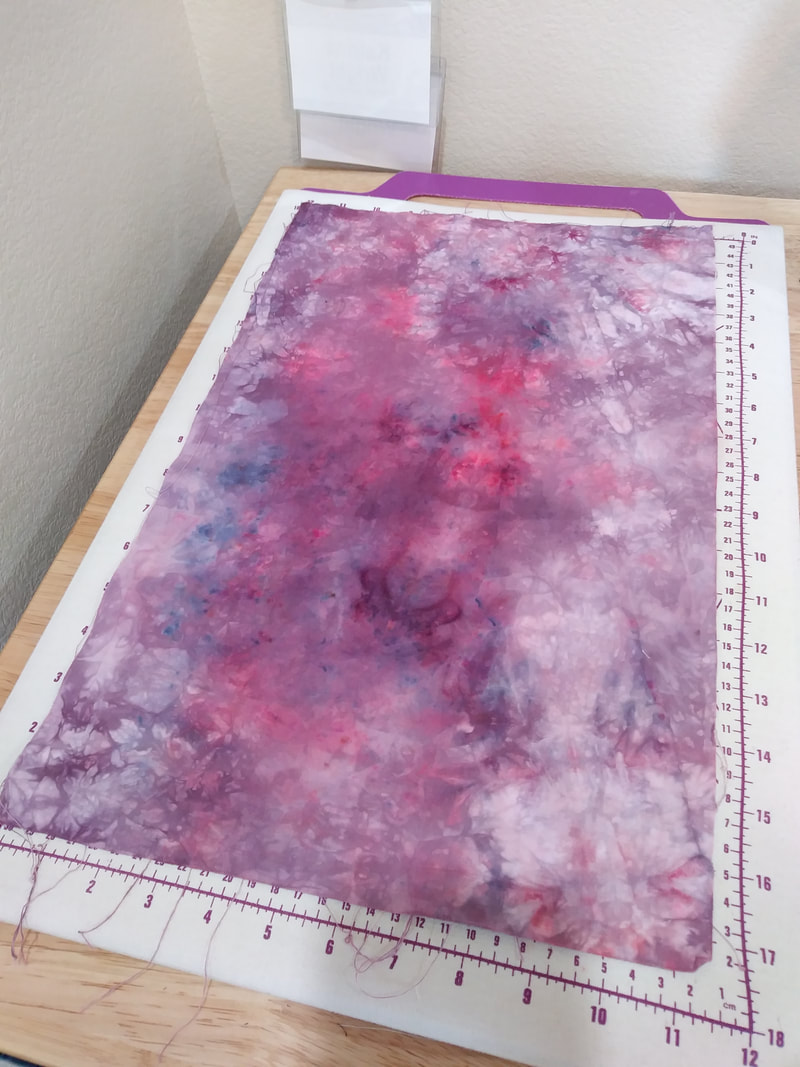
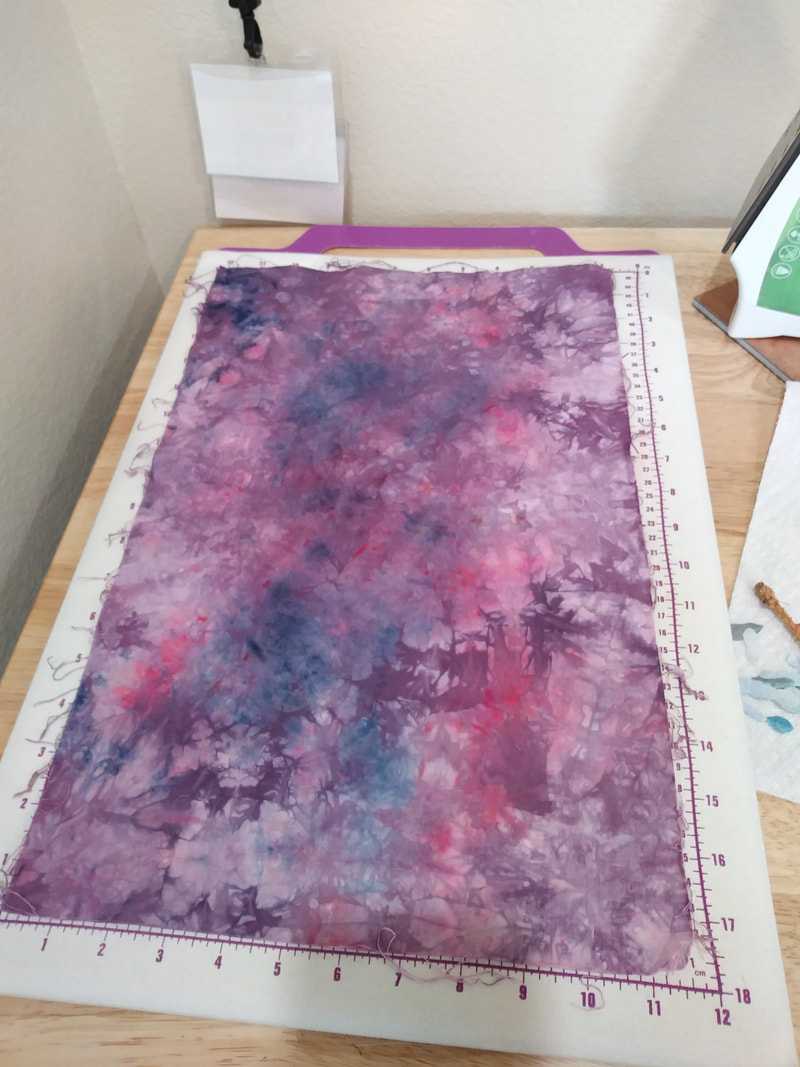
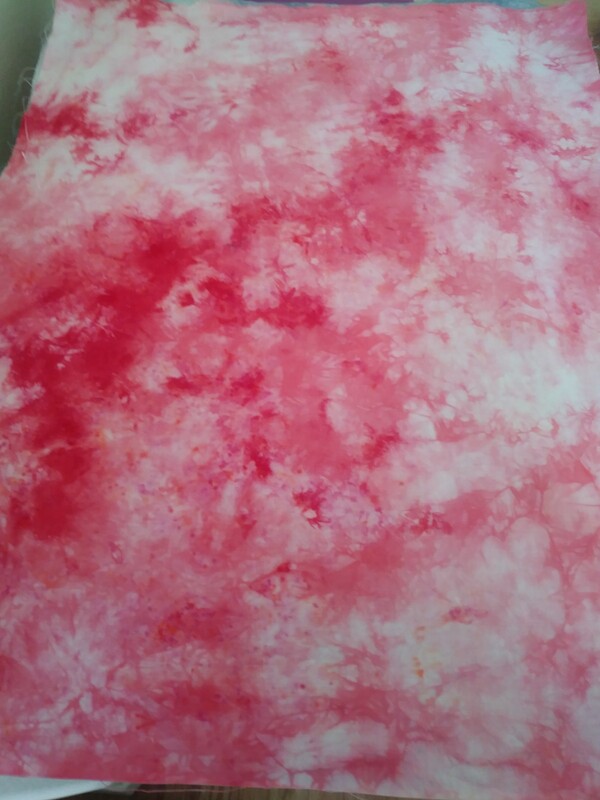
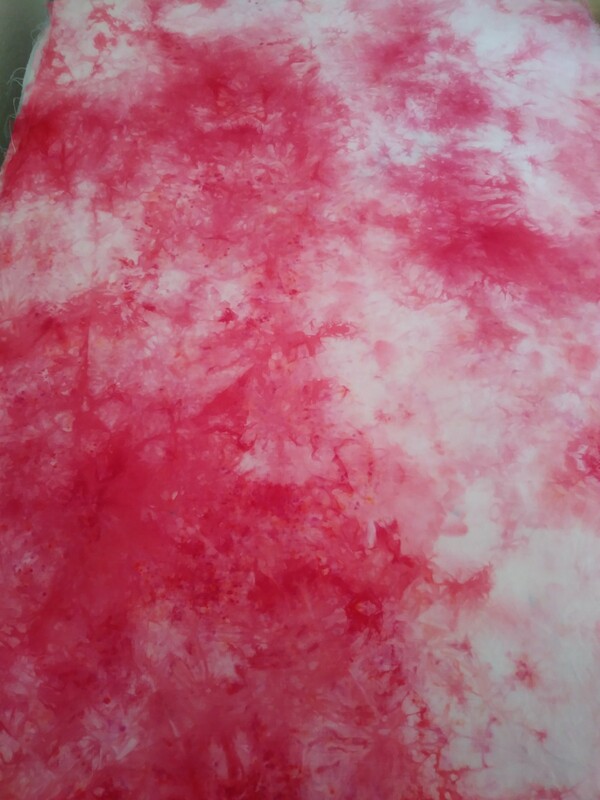
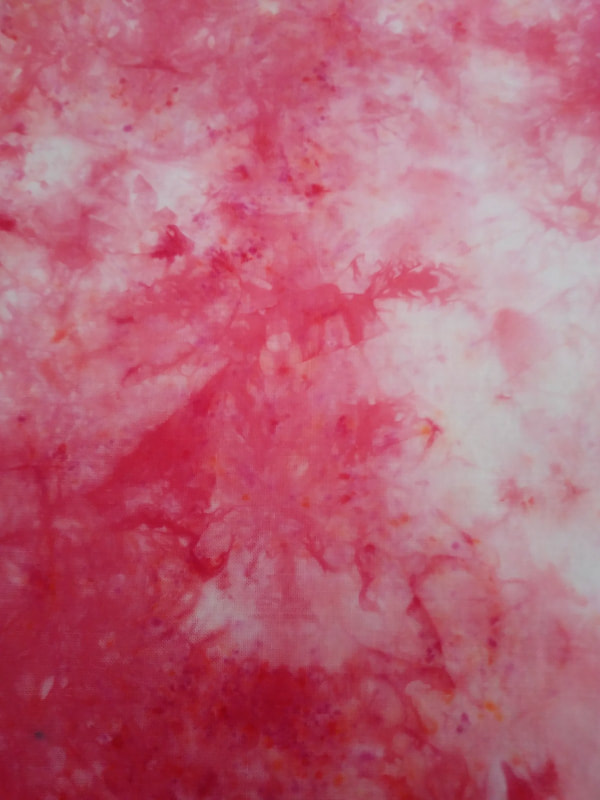
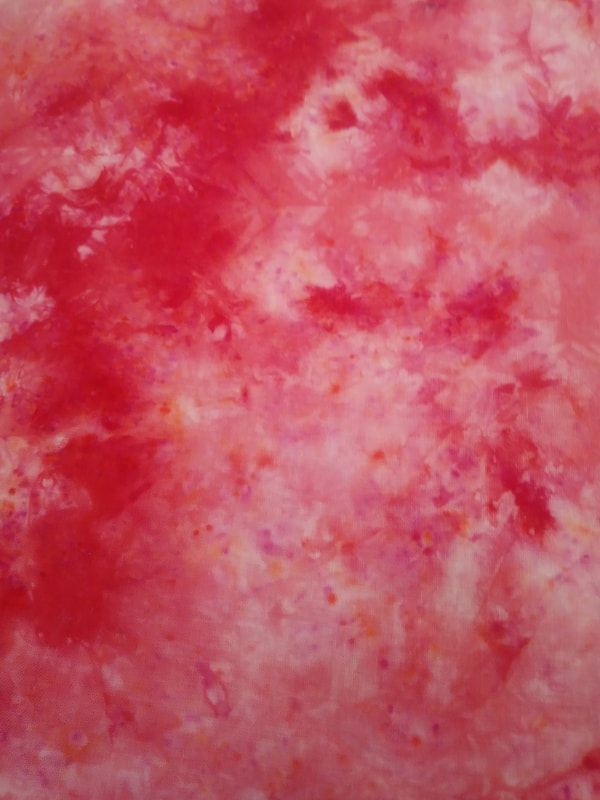
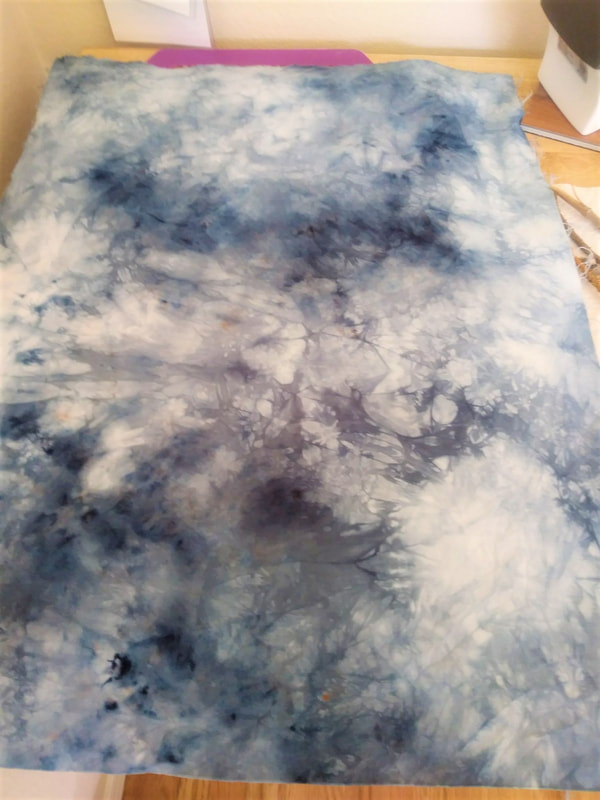
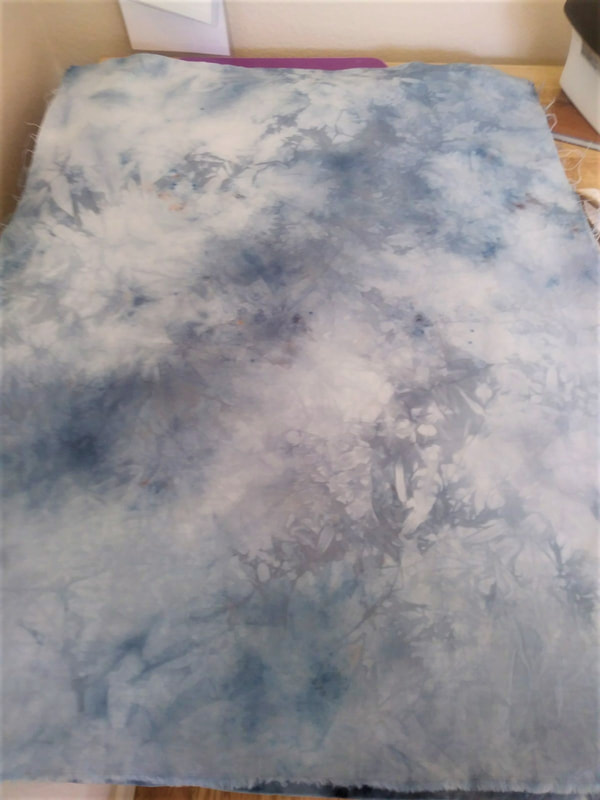
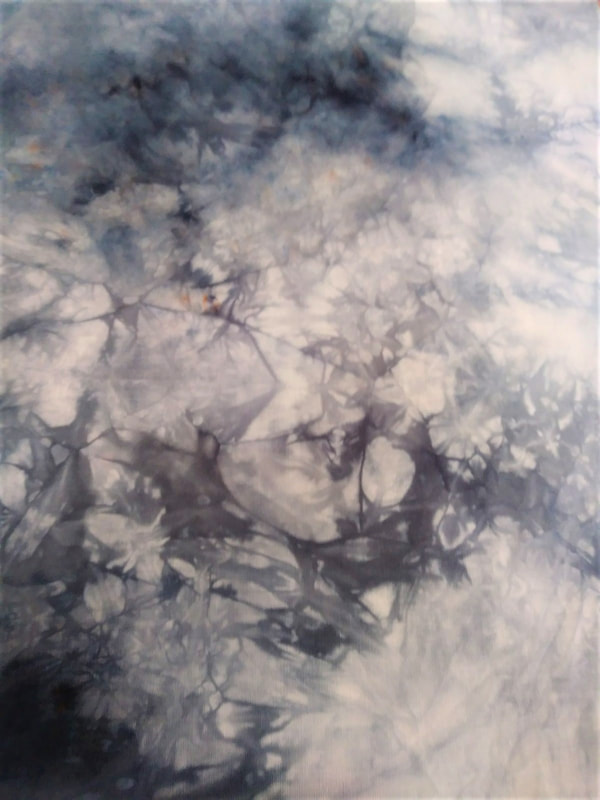
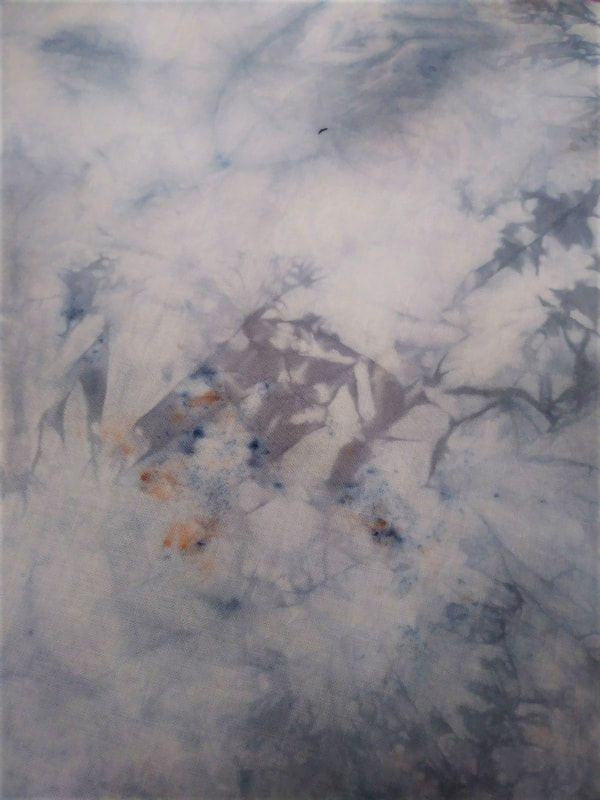
A few weeks ago, some friends and I got together to dye some fabric! This low water immersion technique uses jam size glass jars, powdered dye, salt and pepper shakers and fat quarters to achieve some fantastic results! I used Dylon brand dyes, in Navy and Tulip Red, so I didn't have to use urea or soda ash in my mixture. You can see that some of the powders mixed together to create the purple hues, while spots of the "pure" colors remained. Click on the pics above to see the detail even better! Thinking it would be fun to have some more coordinating fabric dyed to match, I decided to try fat quarters with the solo colors. Tulip Red powder only: (Click on the pictures to see more detail and to read the captions!) Next, Navy Blue Powder only: (Click on the pictures to see more detail and read the captions!) In the blue pieces above, you can see how some of the red powder sprinkles must have made their way on to the wet fabric, which resulted in the orange spots. Here are how some of the fabrics look together:  Aren't these so fun?!?!? Every time I dye fabric, I am amazed at the results, because it is always a SURPRISE!
Not sure what I will do with these yet, but stay tuned to find out! :) |